Inside Doc's Machine Shop

Collapse
X
 
  • Time
  • Show
Clear All
new posts
  • DocsMachine
    MCB Member
    • Jul 2020
    • 2699
    • Alaska

    #271
    We have been buying a lot of boring bars (coincidentally, CNMG) and allied spade drill holders from eBay recently to surprisingly great success.
    -I buy a lot of tooling off eBay. Best place to get lightly-used stuff, or even heavily-use-but-still-serviceable.

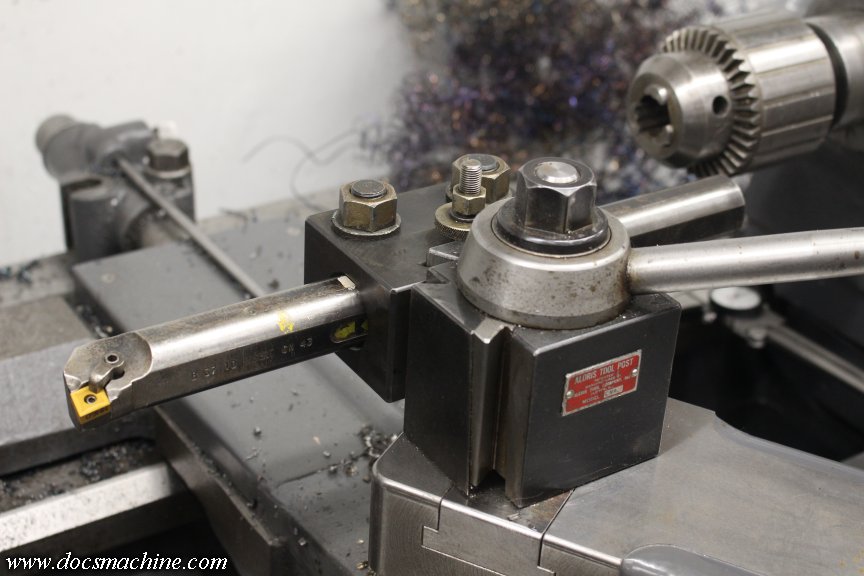
    Since I finished those parts, I found what's probably a Kennametal boring bar on eBay, along with a CXA tool block. Aloris doesn't make a CXA block that takes a 1-1/4" bar, so presumably somebody bored it out.

    The set is used and a bit rusty, but of course both are just blocks of solid steel- and I know how to cure rust. And given my budget, the fact that both together cost less than a lightly-used CXA block alone.


    Also, we are really fond of the Newall brand of DRO's.
    -Been wanting a Newall since the days of the old Enco catalog flyers.

    But we're back to that budget thing- a good Spherosyn kit was well over $2,000, and I'd wager a 3-axis is closer to or over $3K today. That's just been more than I either want, or, more commonly, even have, to spend.

    Though I have spent a little time considering that it may actually be possible to fit a Microsyn encoder inside the big Springfield saddle. I wanted to do that back when I was still reassembling the beast, but there was just no way I could blow that much cash. (This airsmith thing ain't as lucrative as it looks- I have a nice shop, but it was 80% paid for with sweat equity. )

    Doc.
    Last edited by DocsMachine; 12-04-2025, 03:03 PM.
    Doc's Machine & Airsmith Services: Creating the Strange and Wonderful since 1998!
    The Whiteboard: Daily, occasionally paintball-related webcomic mayhem!
    Paintball in the Movies!

    Comment


    • StaticShocked
      StaticShocked commented
      Editing a comment
      Aloris tool posts are so nice. Definitely my favorite lathe tool post. I have found some of the off-brand ones are getting quite good nowadays.

      If you could get the encoder on the inside, that would be so neat. It would be free of chips and the potential damage from being on the outside (even with guards). That would be a really clean install and the ideal location. I have made a few custom components just to ensure the encoder and scale are mounted on the back, out of the way and protected, but DRO's on the inside of the saddle would be the ultimate location. If you end up doing it, I look forward to your write up on the install!

      Sweat equity is the way. I don't think any type of metalworking is lucrative. It seems rather like long hours and demanding customers who want the impossible because someone told them it was possible?
  • DocsMachine
    MCB Member
    • Jul 2020
    • 2699
    • Alaska

    #272
    I don't think any type of metalworking is lucrative.
    -Er... Everything uses some form or another of metalworking. Cars, computers, TVs, cell phones, beer bottles, beer cans, airplanes, wristwatches, houses, lawnmowers....! Even carpentry needs metal nails, saws and hammers.

    What I meant is what I said- this airsmith thing isn't all that lucrative. I mean, I do what I can, but this market just isn't that big. I'm a niche maker for a niche segment of a niche market.

    Doc.
    Doc's Machine & Airsmith Services: Creating the Strange and Wonderful since 1998!
    The Whiteboard: Daily, occasionally paintball-related webcomic mayhem!
    Paintball in the Movies!

    Comment


    • StaticShocked
      StaticShocked commented
      Editing a comment
      Got it, my mistake. I was referring to lucrative in reference to finances, not availability of work. I misunderstood.
  • DocsMachine
    MCB Member
    • Jul 2020
    • 2699
    • Alaska

    #273
    Got it, my mistake. I was referring to lucrative in reference to finances, not availability of work.
    -I blame the manufacturers. They need to go back to making crappy, unfinished guns like they used to do. The old Shockers that didn't have an "off" switch, 'Cockers that needed to be completely rebuilt before they were "tournament ready", 'Mags and Angels that "needed" a bunch of aftermarket parts...

    Nowadays, everybody just pulls an Emek out of the box, screws on a tank and hits the field. What's a poor, down-on-his-luck airsmith to do?

    Doc.
    Doc's Machine & Airsmith Services: Creating the Strange and Wonderful since 1998!
    The Whiteboard: Daily, occasionally paintball-related webcomic mayhem!
    Paintball in the Movies!

    Comment

    • DocsMachine
      MCB Member
      • Jul 2020
      • 2699
      • Alaska

      #274
      As we were talking about big boring bars earlier, during one such conversation, I idly checked eBay and almost immediately ran across a combo deal in my price range.

      A Kennametal CNMG 1-1/4" diameter boring bar, with a hard-to-find Aloris CXA tool block that takes 1-1/4" bars. (Aloris only sells CXA blocks for 1" bars, today.) It was rusty and well used, but the seller was asking right about what the tool block itself usually goes for.

      Even though finances aren't as flush as I'd like them to be, and I have no plans to do any heavy turning like that again in the near future... well, I'm still a tool geek at heart so I hit the BIN button.

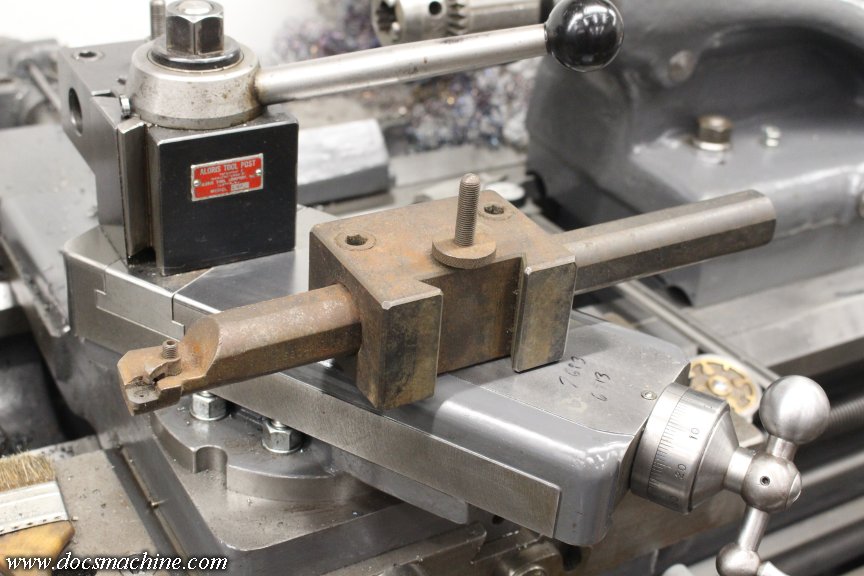
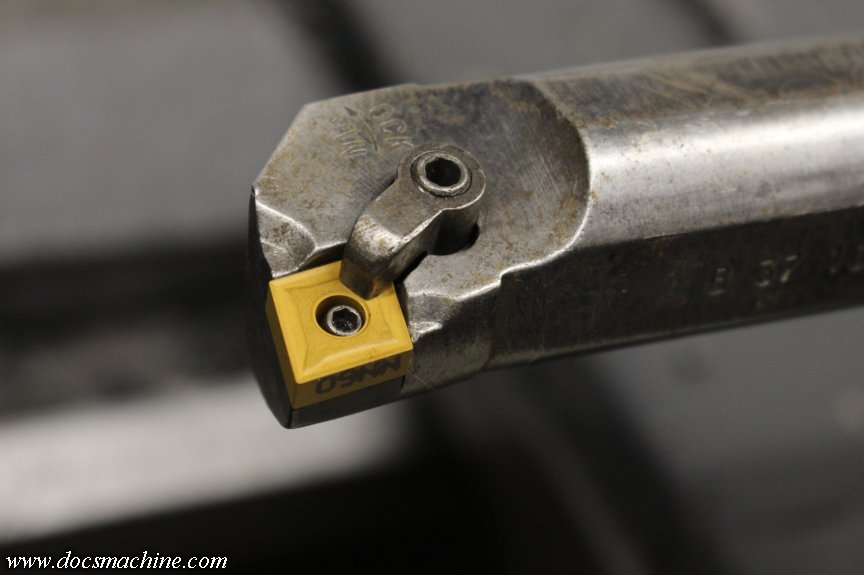
      Here's what I got:


      It's not as bad as it looks. It's light surface rust, and only on the upper surfaces, so that tells me this spent some time in an unheated shop for a while- and overall, likely hasn't been used in many years.

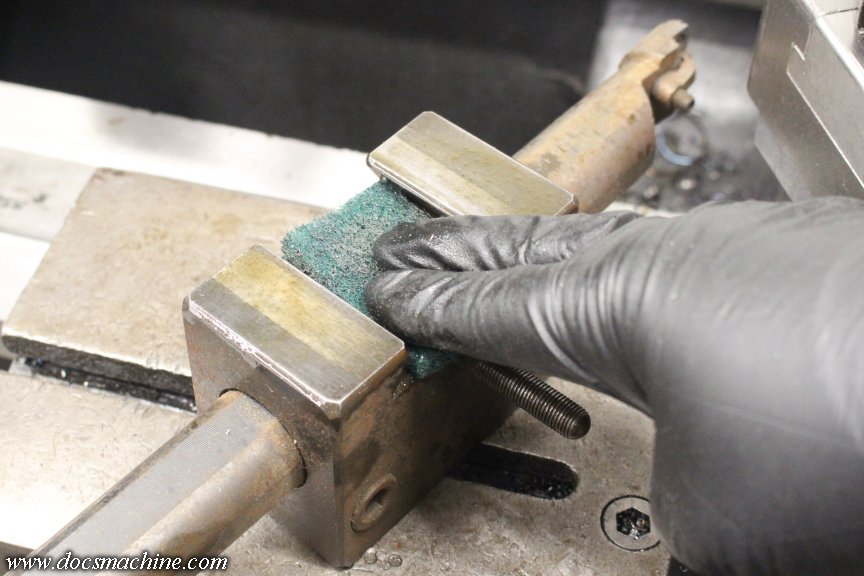
      So first, I hit the mounting dovetail with some Scotchbrite and WD-40...


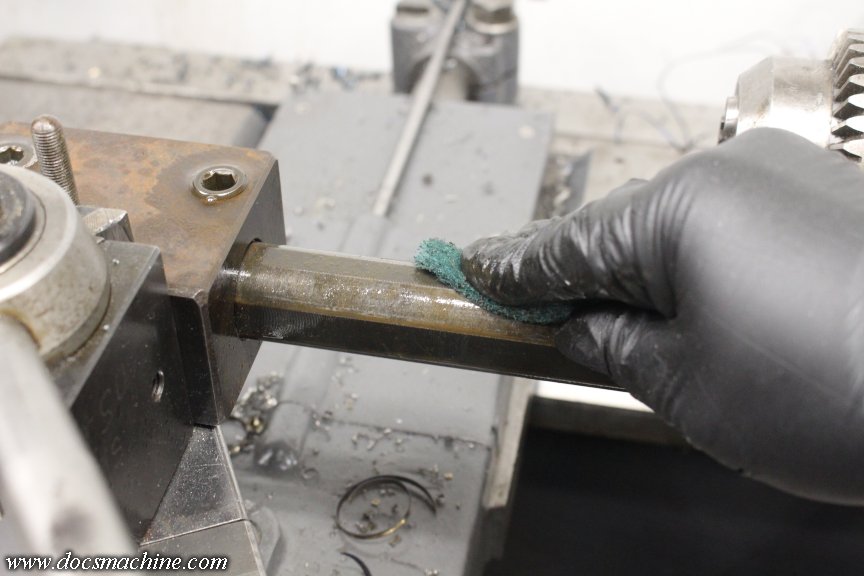
      ... So that I could mount it in the toolpost and break the clamping bolts loose. But first, I also scrubbed the rust off the shank of the bar...


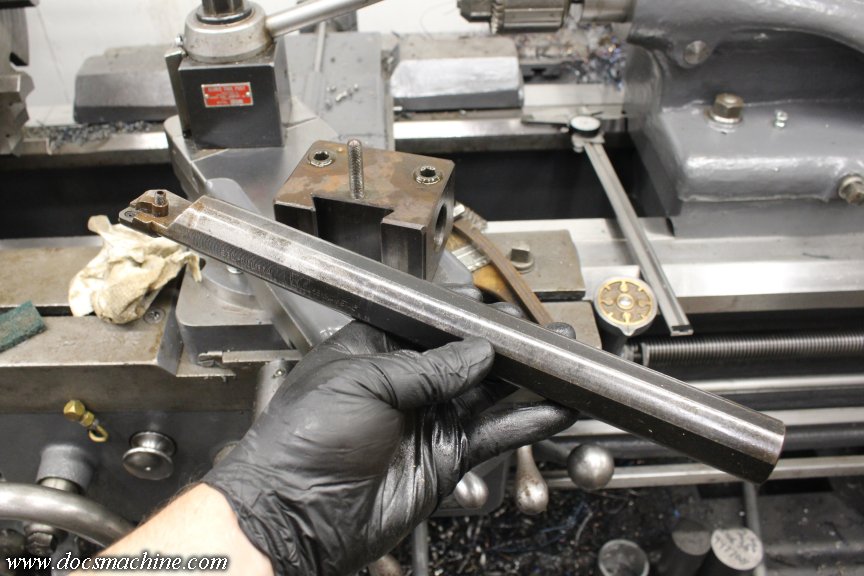
      And once the locks were loose, she slid right out.


      A little more scrubbing and wire brushing got almost all the rest of the rust off, and a similar scrubbing on the tool block cleaned it up, too. Neither will ever look "new" again, but that's all right.

      ... Maybe I'll degrease 'em and try some gun blue.

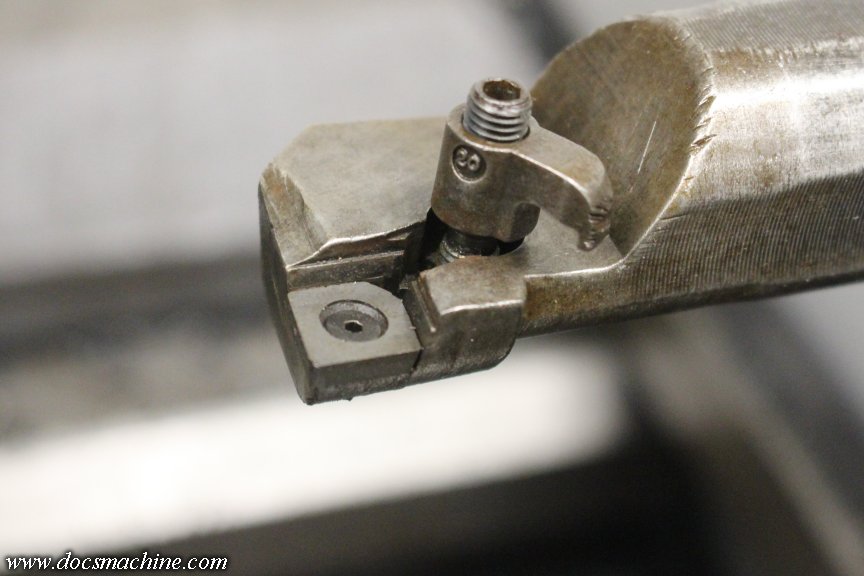
      The nose of the carbide seat/anvil was, as is so typical, cracked off, so I simply reversed it. I have some new ones, but might as well use this one up before slapping one of those on.


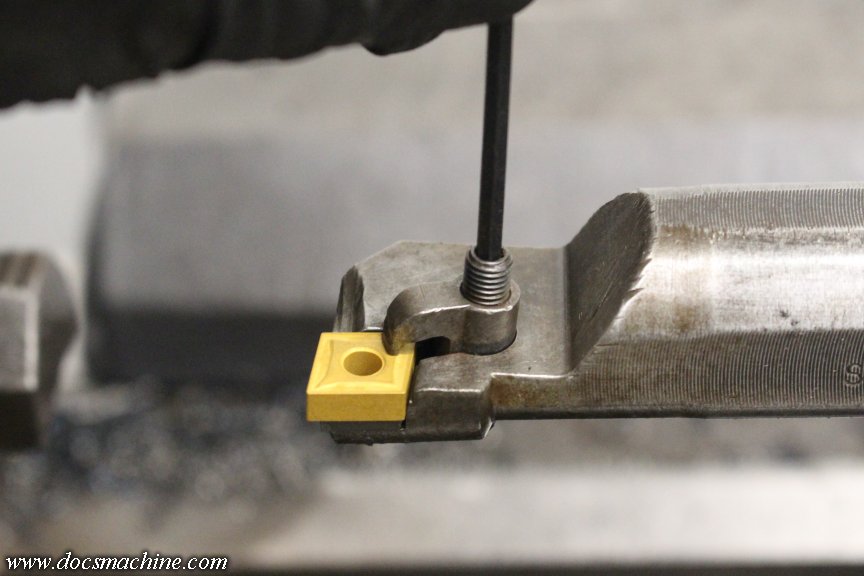
      And, here's where things went sideways. The hex inside the clamping screw was almost completely stripped out.


      It had just enough grip to kind of seat, but wouldn't hold the wrench to loosen. I had to grab it with a vise-grips to get it back out.

      Those I don't have a replacement for. If this was a time-crucial job, I could rob it from one of the square-shank tools, but in this case, I just ordered a two pack off eBay again.

      Toying with the idea of getting the later model clamp, too, that has a longer nose and a pin that hooks that center hole. Not 100% sure it's compatible- this is a long-obsolete model of bar, but I may try. There's also a later style of pin that holds that lower anvil, and helps retain the insert through that same center hole. This bar wasn't designed for it, but if I can find an appropriate size pin, I may redrill and tap for it, to add the extra security.

      But, overall, it cleaned up nicely, and I have no doubts it'd do another job like I just ran, with aplomb.

      Doc.​
      Doc's Machine & Airsmith Services: Creating the Strange and Wonderful since 1998!
      The Whiteboard: Daily, occasionally paintball-related webcomic mayhem!
      Paintball in the Movies!

      Comment

      • DocsMachine
        MCB Member
        • Jul 2020
        • 2699
        • Alaska

        #275
        A close call for Christmas, but Santa delivers! (And, a good illustration of why Doc is so hard to buy for. )

        I'd actually ordered two different 1-1/4" boring bars back when I got the rusty one- but that one came Priorty, and this one came, I'm guessing, by dogsled, presumably pulled by arthritic corgis or something. The first one I got in part due to it being bundled with a now-rare 1-1/4" CXA toolblock, but this one is the better of the two bars.

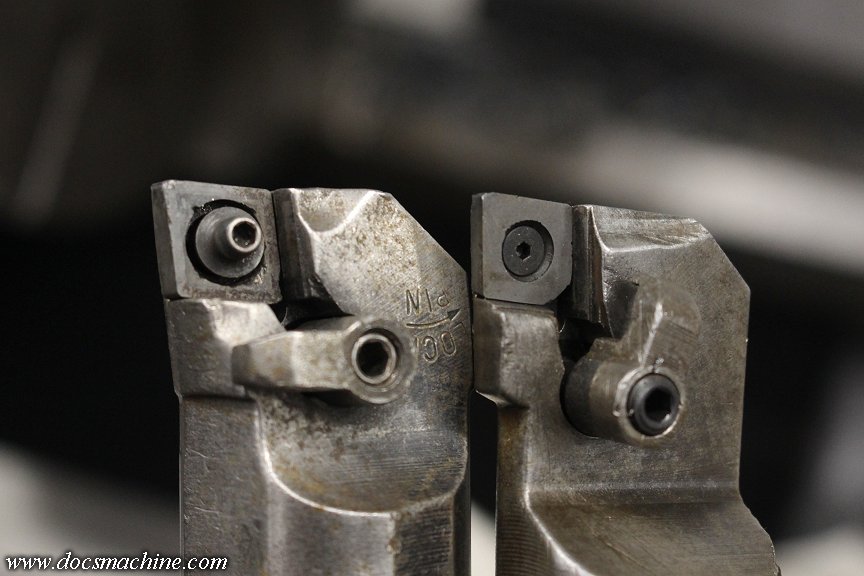
        They're both Kennametal, but the latest one is a newer generation:


        I have no idea when the changes were made- the older one could be 50-60 years old. But there's a couple of improvements: First and foremost, that center "pin" on the left-hand one (the 'newer' one) is a secondary retention for the insert. And second, how the reduced end of the bar on the newer one is both shorter and thicker- less metal was cut away. That makes for a stronger overall tool, with a better-retained insert.

        That center pin is machined eccentric, and is turned to help lock the insert into its seat. (Note the arrow.)


        The other bar is still a good, strong tool, but this one will be better for the really heavy-duty turning.

        Also, I was lucky enough to find a second 1-1/4" tool block, giving me two complete setups.


        I'm still going to need a good 1" bar, and possibly a dedicated 3/4" bar (not one borrowed from the Omniturn ) but those will come later.

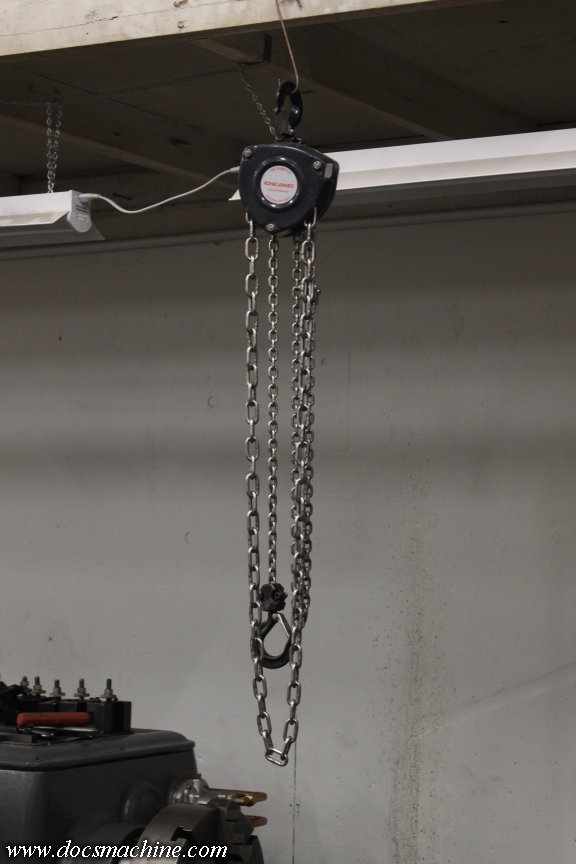
        Also, I splurged on a cute little 1/4-ton chainfall, that also finally came in:


        So here in the hopefully not-too-distant future, I'll pick up some rollers and Unistrut, and get to designing that overhead trolley to lift, move and carry the chucks, and if necessary, heavy workpieces, too.

        So... yeah. Shop toys I don't quite get to play with yet.

        Merry Christmas!

        Doc.​
        Doc's Machine & Airsmith Services: Creating the Strange and Wonderful since 1998!
        The Whiteboard: Daily, occasionally paintball-related webcomic mayhem!
        Paintball in the Movies!

        Comment

        • DocsMachine
          MCB Member
          • Jul 2020
          • 2699
          • Alaska

          #276
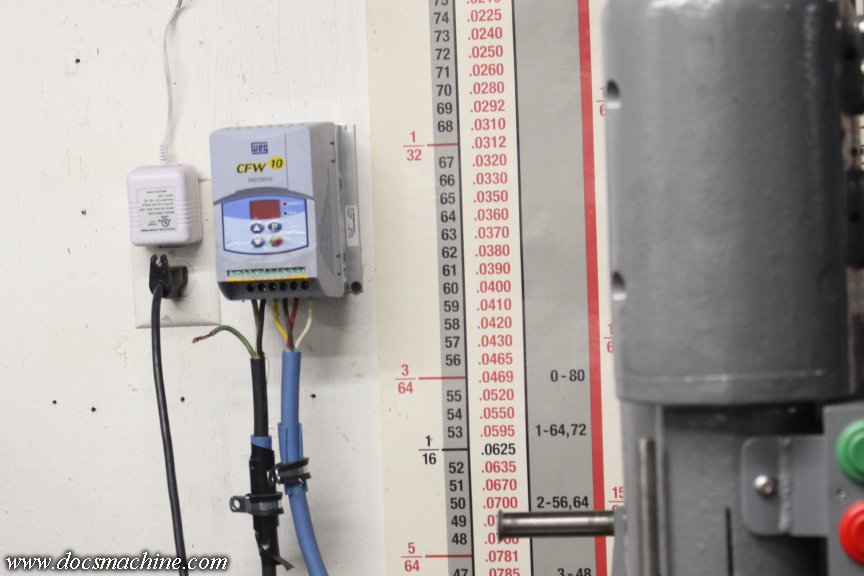
          Years ago, I had to rob the VFD off of my Arboga drill press, after the old one blew out in my Logan lathe. I later bodged a temporary fix (likely going on it's fifth year ) by just stabbing in a spare WEG.


          Problem was, that was only good to 1 HP, and at the high setting, the drill was a 1.5HP. I also never got around to hooking up the stop/start buttons, so it was kind of inconvenient to use.

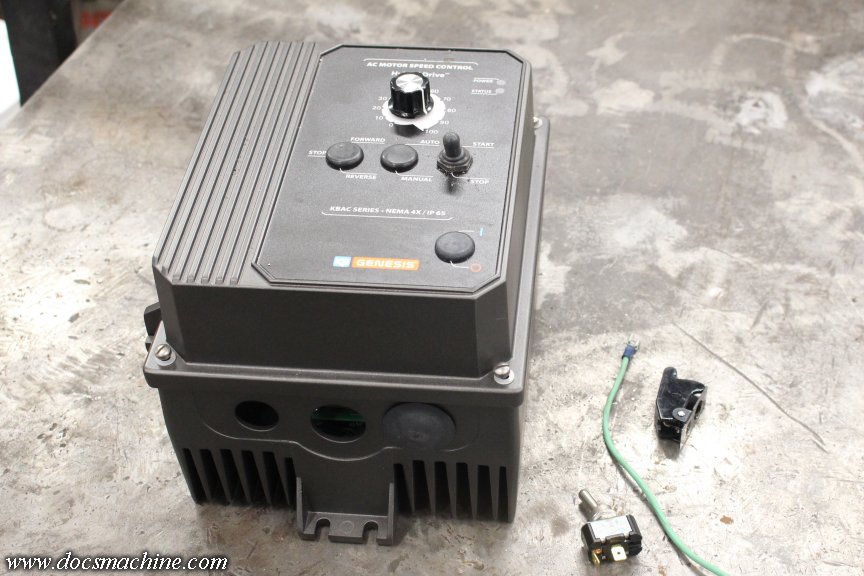
          Today, as I was trying to make some headway into organizing the bomb crater that is my shop, I ran across the KB VFD I'd bought... three years ago? Specifically to install on this machine. I'd just put an identical one on my buddy's Scotchman saw a few months ago, so I had extra switches and cable piled near it.


          So, since I had a freshly-cleared off workbench, and I was getting tired of just moving stuff from one random pile to another, I dusted it off and started taking stock of what I had, and what I needed to do.

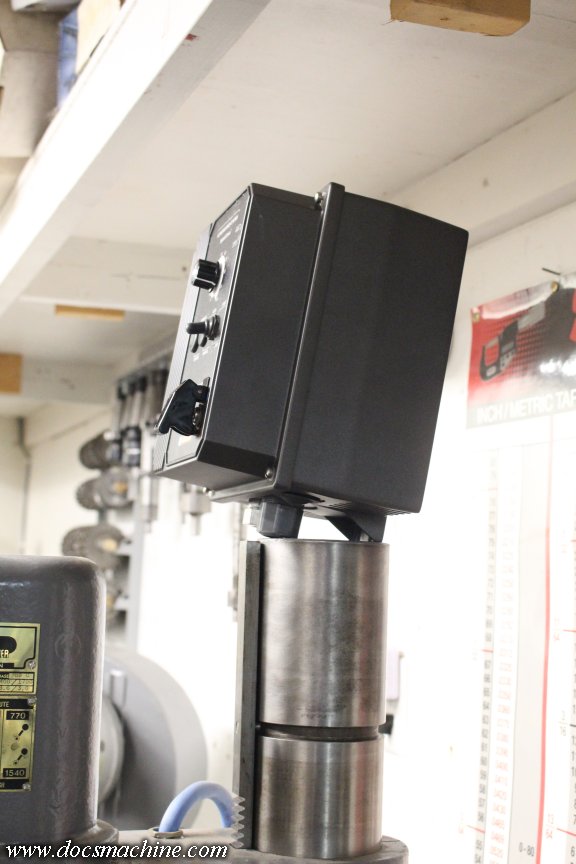
          The big trick here, and has been since I got this drill a decade and a half ago, is to actually mount the VFD on the machine itself, rather than screwed to the nearest wall. The design of the drill doesn't give me too many options for mounting, though. I didn't want to put it down by the base, since the VFD has a power switch on it, and I wanted that and the speed control easily accessible. Ditto mounting it on the back of the column, facing away.

          So more or less since the beginning, I've been toying with the idea of mounting it to the top of the column.


          Some sort of L-shaped bracket that bolts to the top of the column, perhaps... I have a couple sketches, but I may need to do some cardboard mockups. For example, the large middle boss of the VFD is where the heavy 3-phase cable comes in from the motor. I can't have that too low to the column, or the VFD too far forward, since the head can be raised on the column and could interfere.

          On the other hand, the original design for this machine was the power cord came up the center of the hollow column, to connect to the controls. I'd like to do that to the 220V 1Ph feed to the VFD. There's a 'port' in the drill's base casting specifically to run a power cord into.

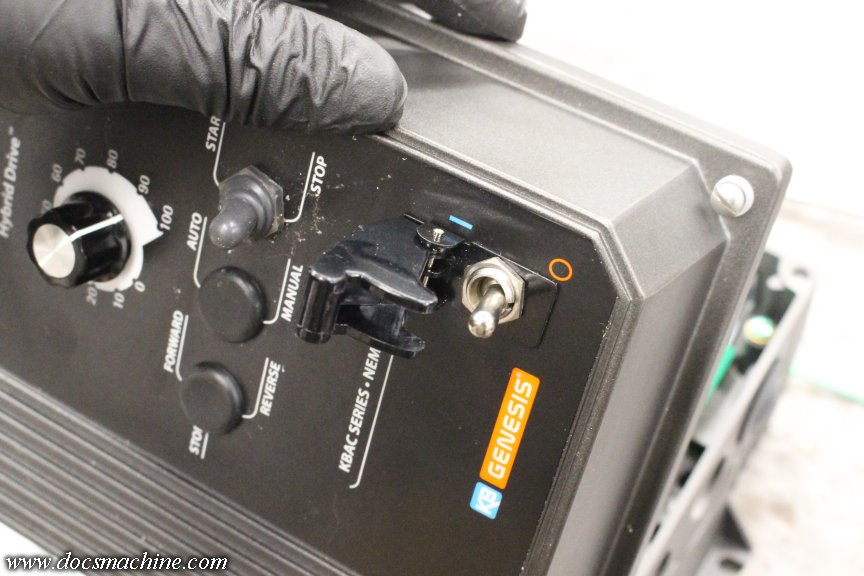
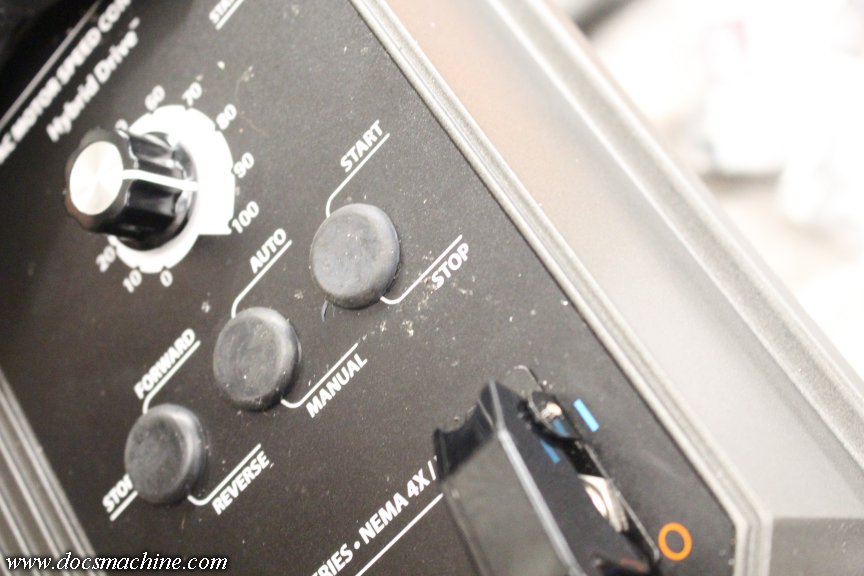
          But, that's all for another time. I still need to get the whole shop into some semblance of 'tidy' and get the Capital-F back to work. So in the meantime, I prepped the VFD by first adding a cutoff switch and another one of the military-style switch protectors, just 'cause it's cool...


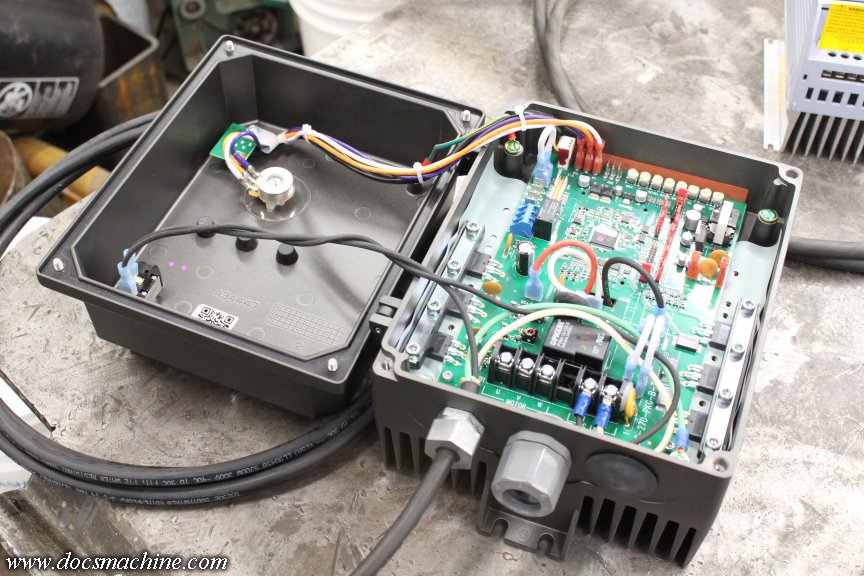
          Then removed the start/stop switch, and corked the hole with the freshly-removed rubber plug from the power switch port. The buttons on the front of the drill press will do the start/stop, so no need to have it on the VFD.


          Stripping nearly a foot from the end of some 300V cable, I got the new power switch wired internally, and locked in with a weathertight gland.


          ... Aaaand, that was about as far as I could go today. Next step, whenever that may be, will be to fab a mount- that's the tricky part. After that it's just wiring. Mostly.

          Doc.​
          Doc's Machine & Airsmith Services: Creating the Strange and Wonderful since 1998!
          The Whiteboard: Daily, occasionally paintball-related webcomic mayhem!
          Paintball in the Movies!

          Comment

          Working...