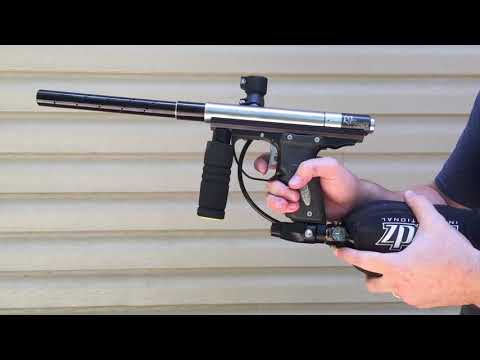
This is a show-off thread for all the different pneumags I've built over the years, and also a price thread for those interested in hiring me for a project.
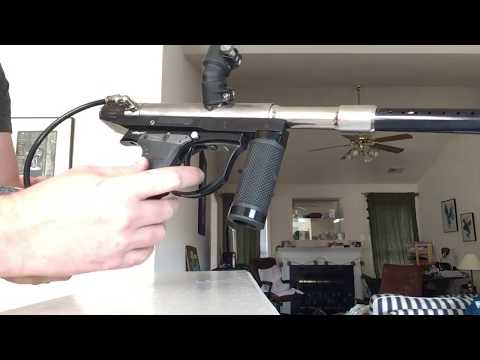
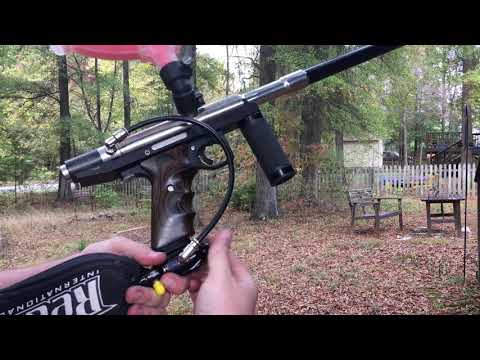
Here's the first taste:
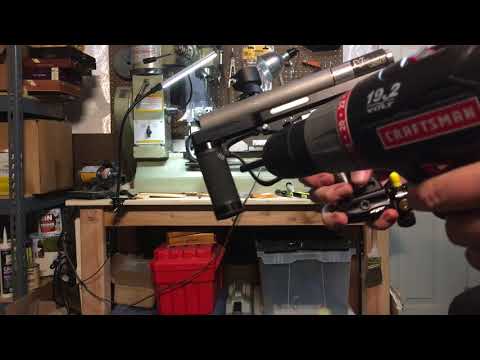
If you want to make your own pneumag, you should check out these videos. They will walk you through the process. This is the cheapest way to go.If you already have the tools you need (a drill, a vice, some taps, etc.) then you can make your own pneumag for less than $100.
If you want me to build a pneumag for you, should should read through everything else in this thread. Then post a reply (to up the thread) and PM me. We can then talk it over and I can give you a quote.
How much does this cost? It depends on what you want. But the starting point is $100.
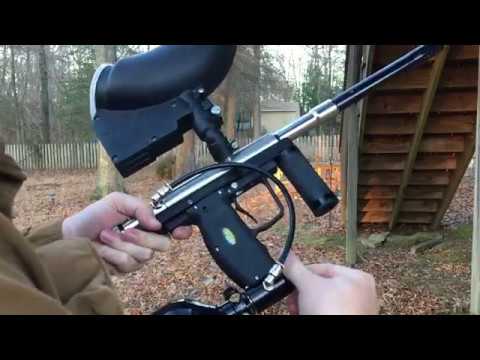
One last thing: If you want a fast pneumag that can keep up with electronic markers, you really need an RT on/off or a ULT on/off. It doesn't matter if you only have a classic valve, but you need a better on/off assembly. I can still make a pneumag with a classic on/off assembly, and the trigger pull will be really light, but the valve won't reset fast enough to really walk the marker reliably.
Price List:
last update = 3/20/2023
Here's the first taste:
If you want to make your own pneumag, you should check out these videos. They will walk you through the process. This is the cheapest way to go.If you already have the tools you need (a drill, a vice, some taps, etc.) then you can make your own pneumag for less than $100.
If you want me to build a pneumag for you, should should read through everything else in this thread. Then post a reply (to up the thread) and PM me. We can then talk it over and I can give you a quote.
How much does this cost? It depends on what you want. But the starting point is $100.
- The $100 includes a custom-made air piston, frame milling, any brackets that are needed, trigger stops, magnetic trigger return (if needed), and the time required to make your project (typically 5-6 hours). It also includes return shipping in a small flat-rate box. (If your project needs something bigger, you'll have to pay the difference.)
- For the trigger valve, you can choose a MAC-33 valve for $75 more, or an MSV-2 for $40 more. Here's a video comparing the two. The MAC-33 has a shorter trigger stroke, no post-travel, and it doesn't vent when you hold down the trigger, but it's a tiny bit heavier than the MSV-2 (still walkable, though). The MSV-2, on the other hand, has a slightly longer trigger stroke, and it vents a little when you hold down the trigger. It can also be set up to have more post travel. (The trigger can keep moving past the activation point.)
- You will need an LPR for any pneumag project. I can usually sell you one for $50. It will be used, but it will have fresh seals and springs inside. (See the next post for more information about LPRs.)
- Sleeper installs are anywhere from $25 to $75 dollars. Big, spacious frames like ultralight Dye frames and vertical Angel frames are easy to do, so I only charge $25 for those. But Intelliframes are much harder and time-consuming, so those cost $75. (Again, there's a later post that explains sleeper set-ups in more detail.)
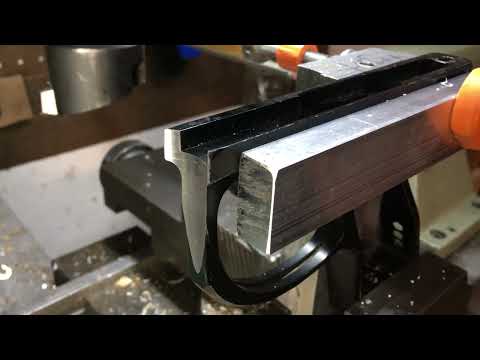
- If you have a non-AGD frame you want to use for a pneumag build, I can do that too. Many of the older-style frames with flat tops (like PMR frames or Angel frames) are really great for pneumag builds. However, you should know that in most cases these frame mods cost a lot more because they need additional modifications to work correctly. If I need to add a safety, that's an extra $25 because it takes about an hour to do that work. If I need to drill new mounting holes and countersink them for screws, that's another $25. If I need to mill off the front so the frame doesn't hit the VASA, that's another $25.
One last thing: If you want a fast pneumag that can keep up with electronic markers, you really need an RT on/off or a ULT on/off. It doesn't matter if you only have a classic valve, but you need a better on/off assembly. I can still make a pneumag with a classic on/off assembly, and the trigger pull will be really light, but the valve won't reset fast enough to really walk the marker reliably.
Price List:
- Base cost (includes piston + trigger stops + frame milling to fit piston) = $100
- new MAC-33 solenoid + fittings = $80
- new MSV-2 + fittings = $40
- used LPR (with new fitting and new seals) = $60 (price increased 11/1/22 because inflation?)
- drill new mounting holes in non-AGD frames = $30
- milling non-AGD frames to size = $30
- rail milling for hidden air lines= $30
- ASA sleeper mods (mill pocket for o-ring and drill air passage) = $30
- easy frame sleeper mod (drill and tap hole for LPR) = $30
- medium sleeper mod (drill/tap hole + frame milling) = $50
- hard sleeper mod (make manifold) = $70
- add or modify a safety = $30
- valve rebuild = $50 + cost of parts
last update = 3/20/2023

Comment