instagram takipci satin al - instagram takipci satin al mobil odeme - takipci satin al

bahis siteleri - deneme bonusu - casino siteleri

bahis siteleri - kacak bahis - canli bahis

goldenbahis - makrobet - cepbahis

cratosslot - cratosslot giris - cratosslot

Announcement

Collapse
No announcement yet.

Vee Twin Autococker

Collapse
X
 
  • Filter
  • Time
  • Show
Clear All
new posts

  • DocsMachine
    replied
    Another big step, with only a few photos to show for it.

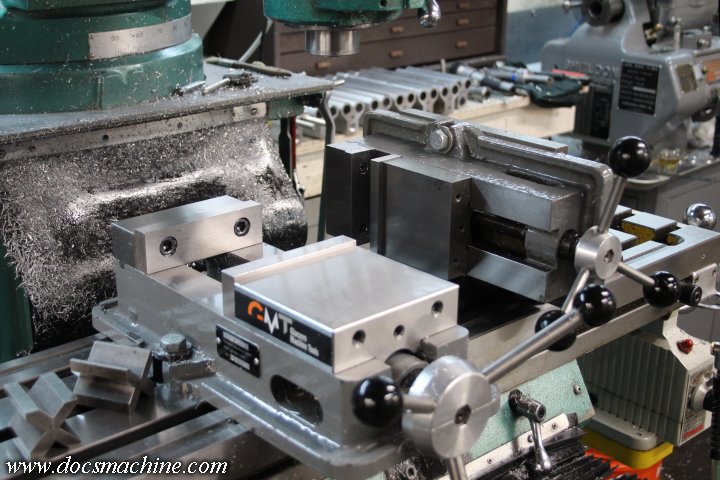
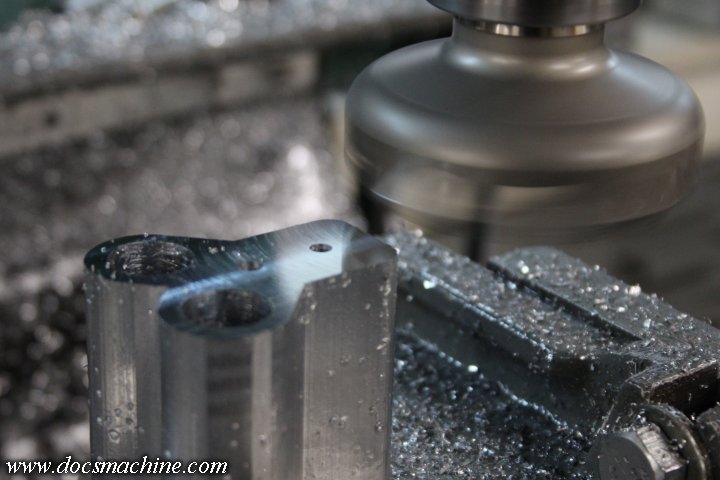
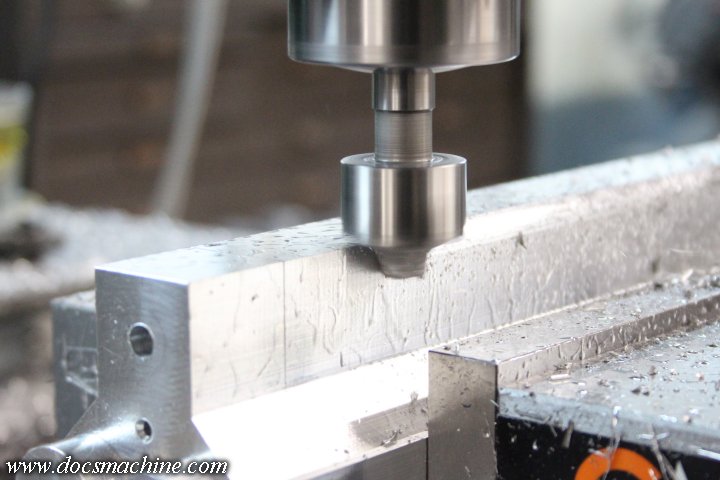
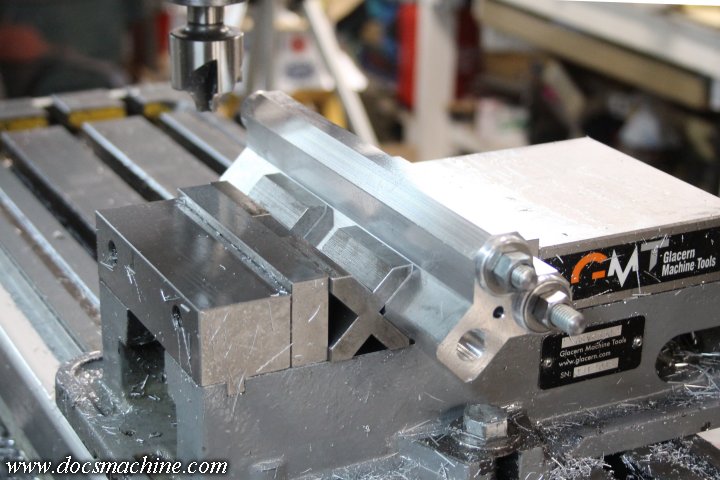
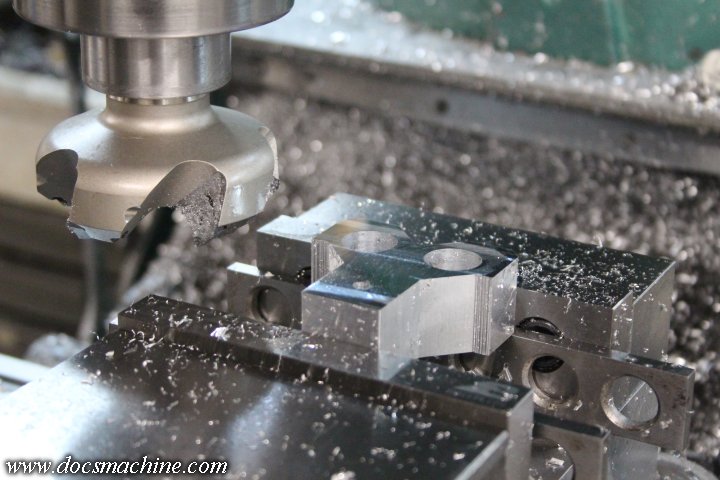
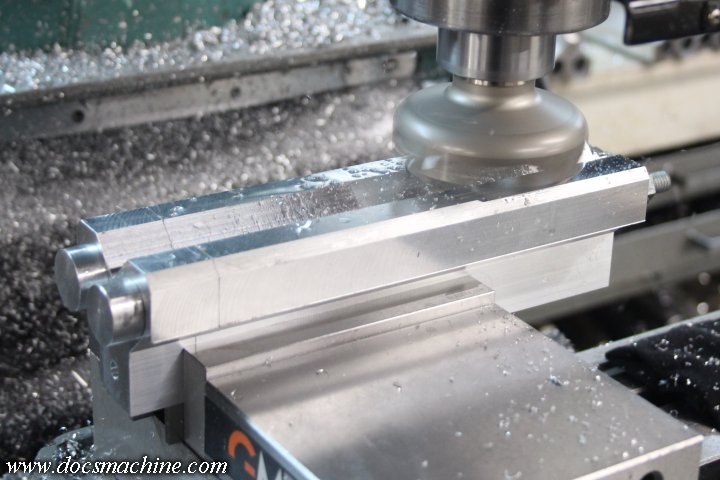
    While I still had the plain vise set up, I nibbled down a bit of the extra at the peak of the front extension, to make the hand-filing a little easier.


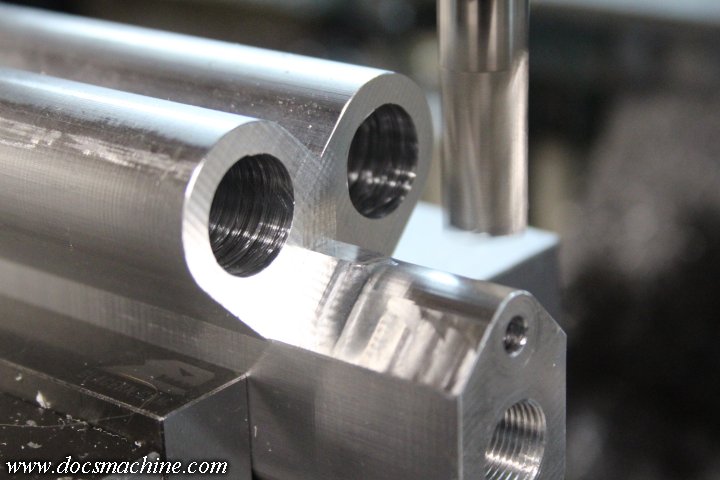
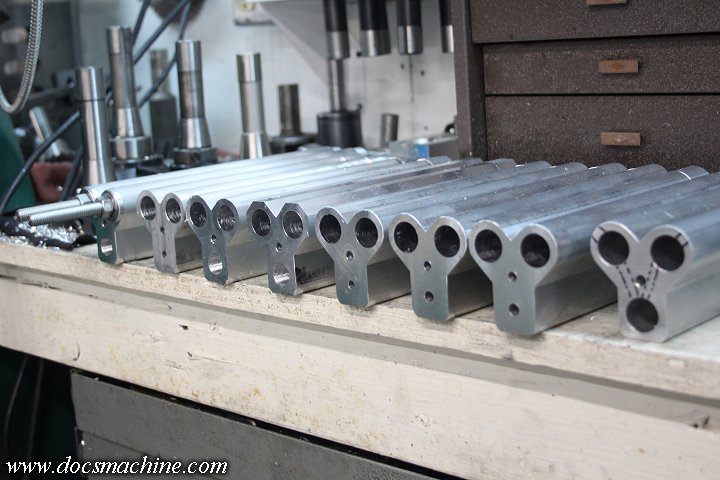
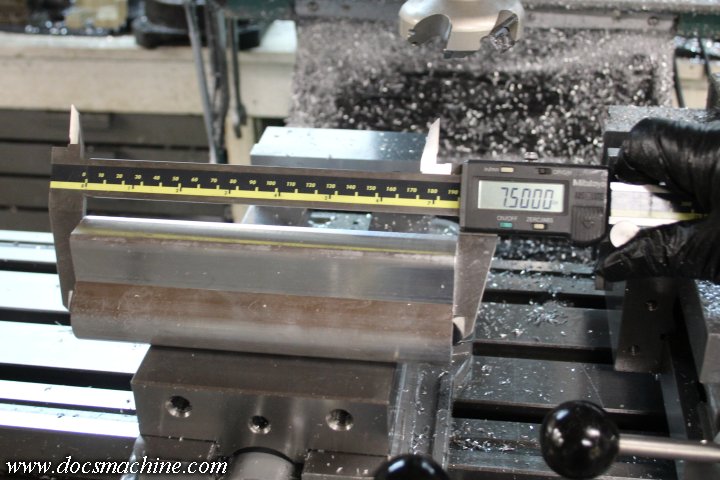
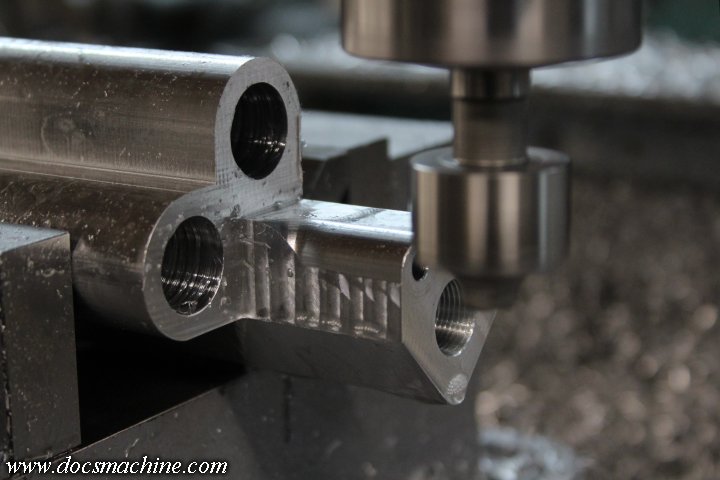
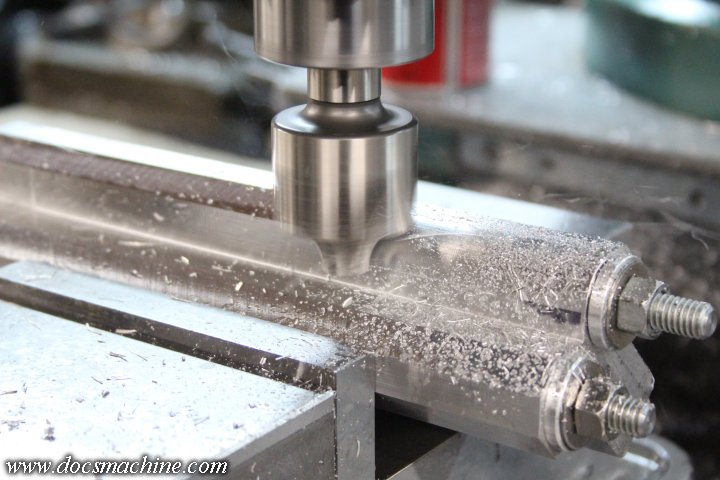
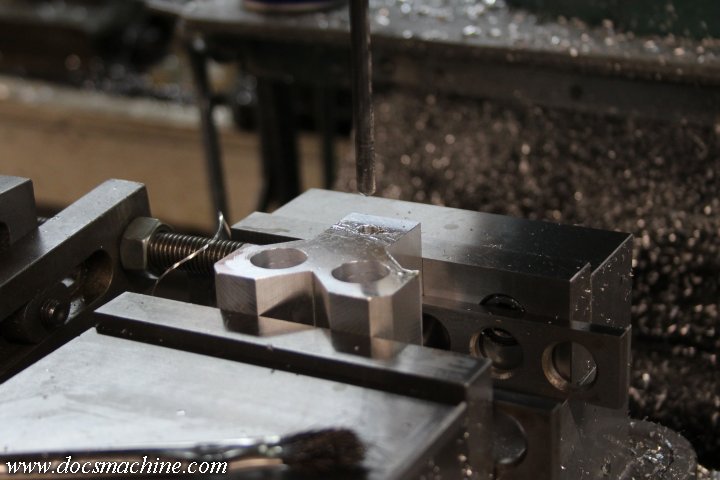
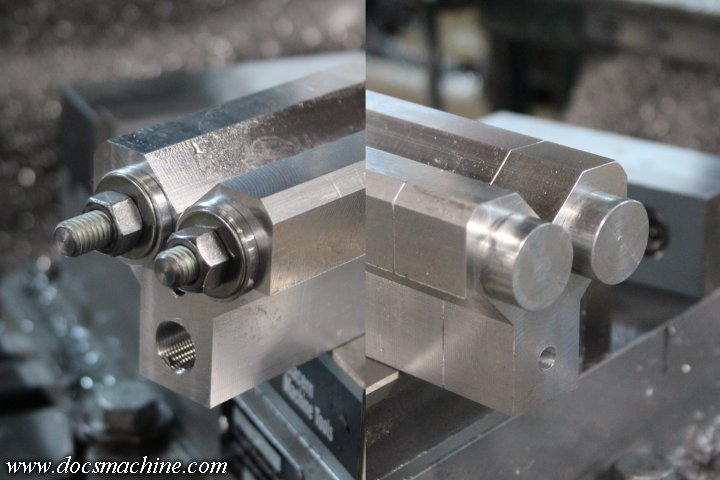
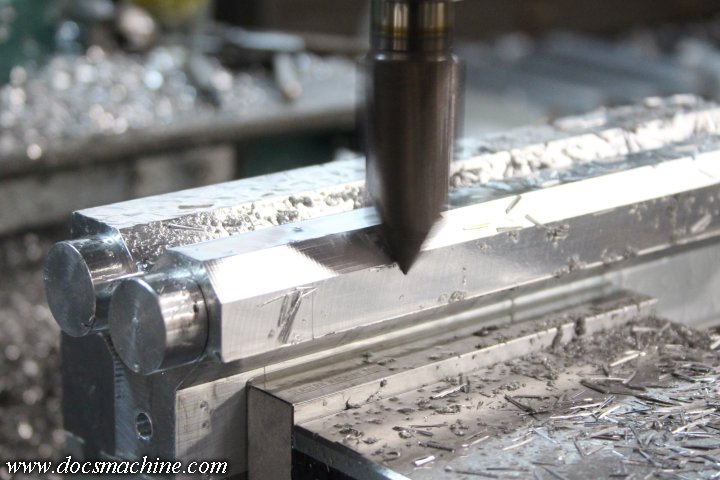
    And now, the big step: barrel threads! First we bore to size...
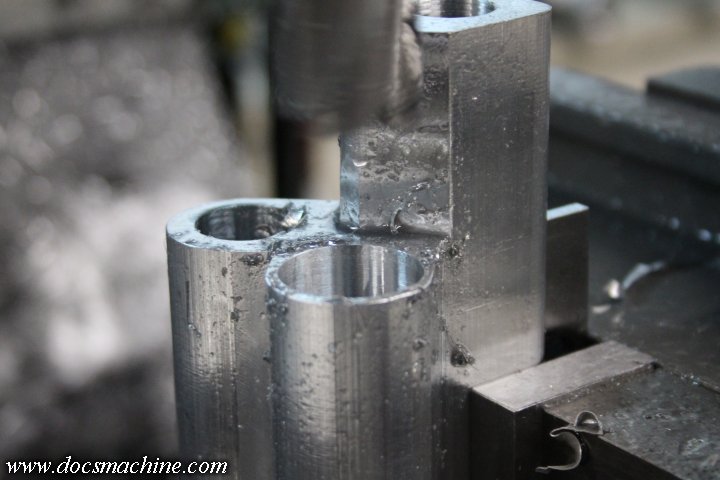
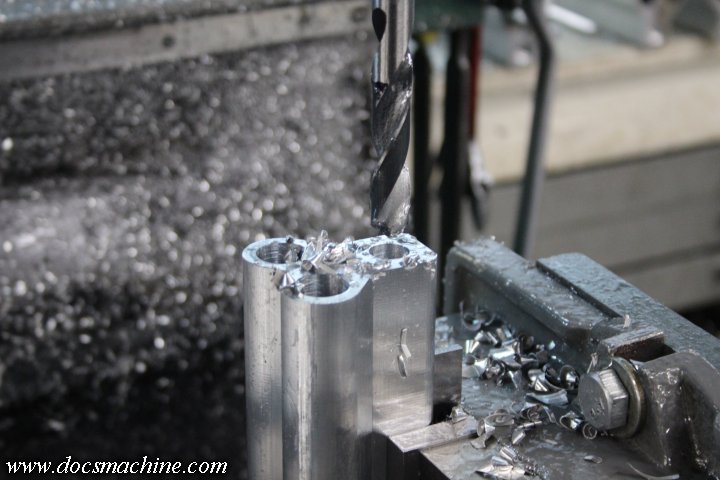
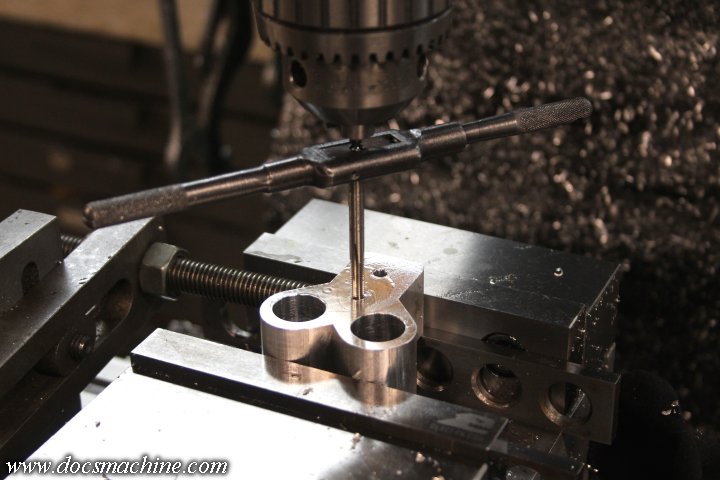


    Then thread!


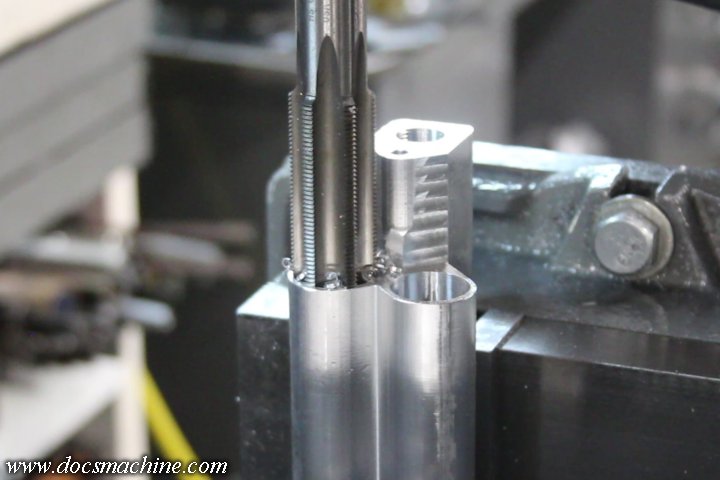
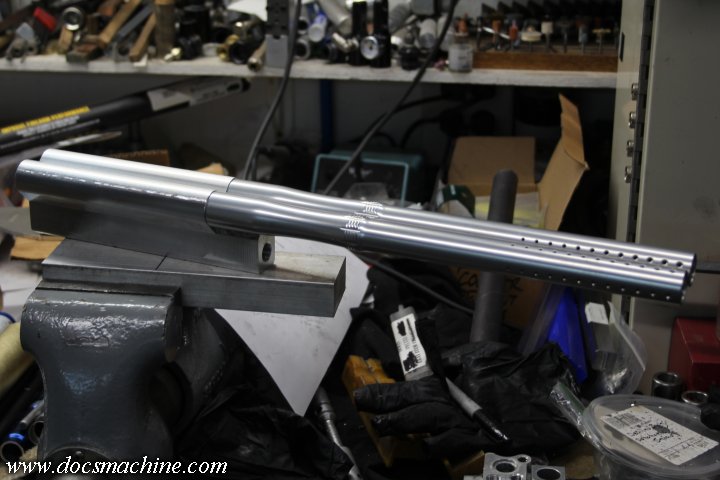
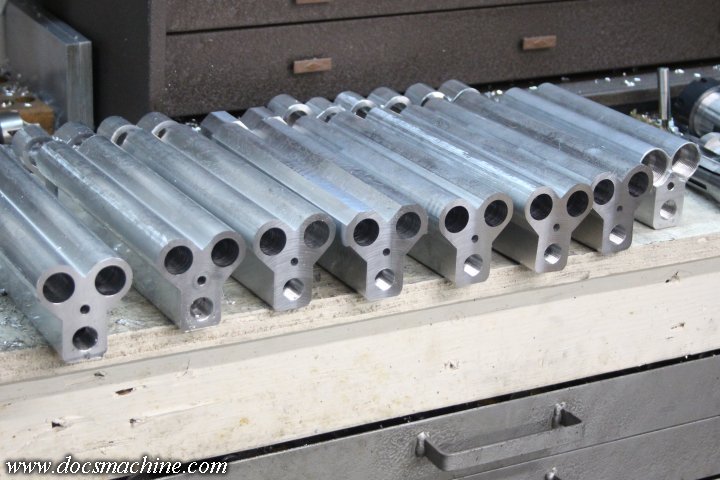
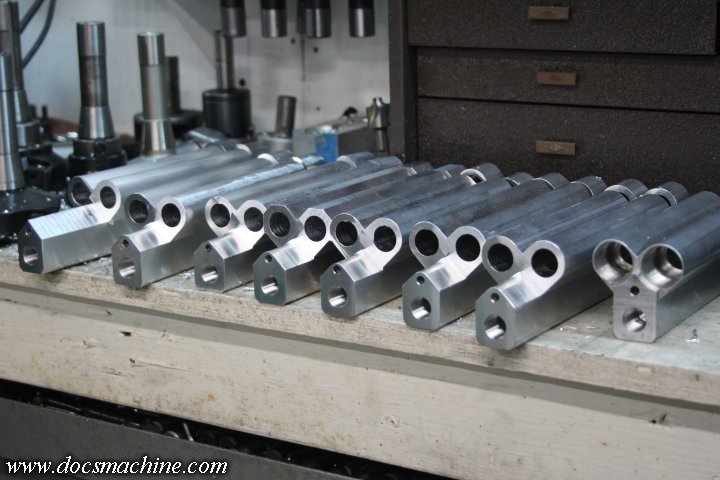
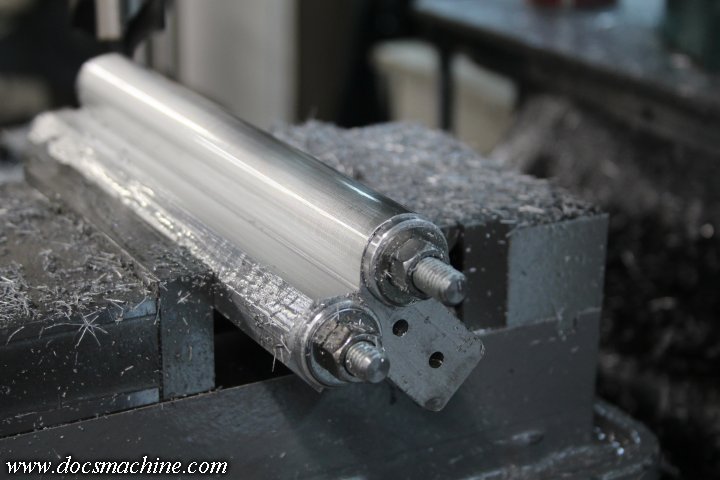
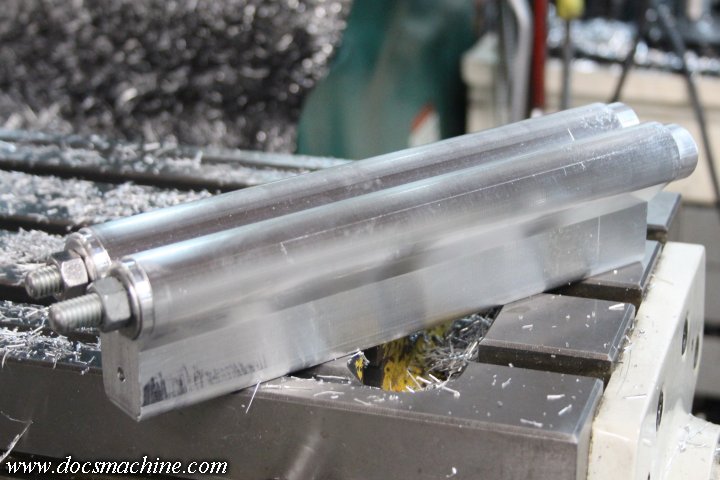
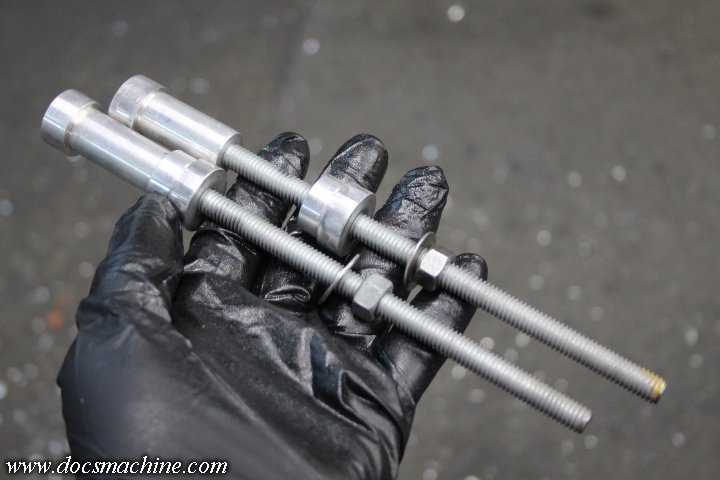
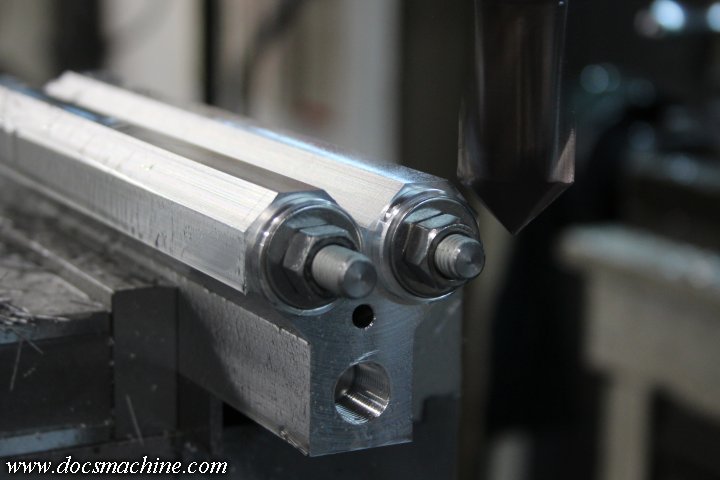
    Do that approximately sixty-three more times, at least according to my shoulders, and they're finally ready for barrels!
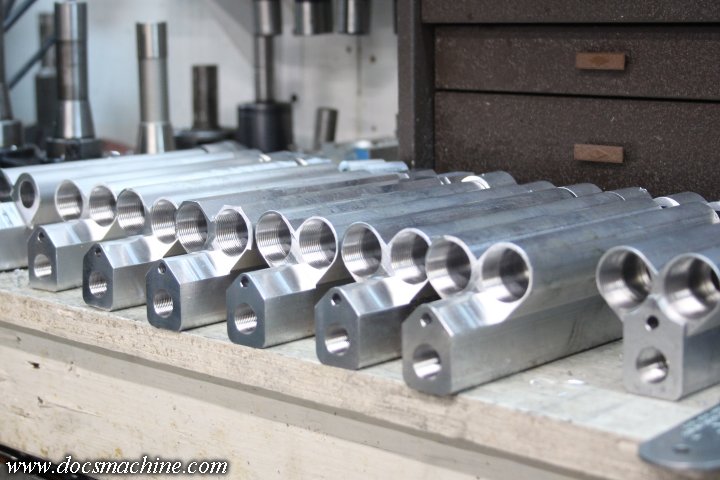
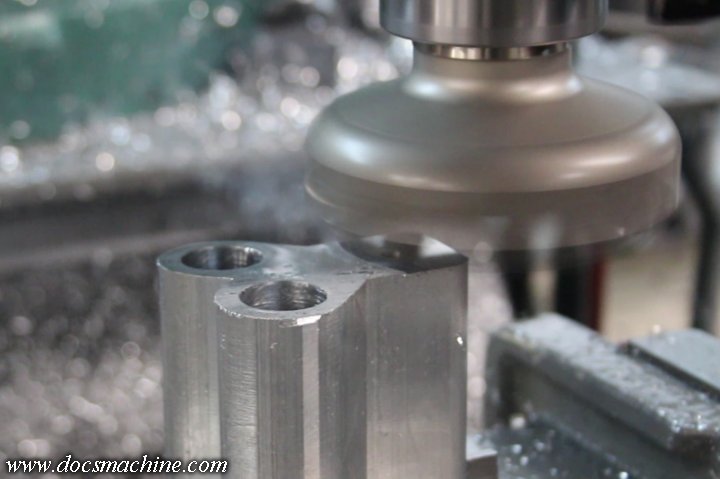


    Like so!


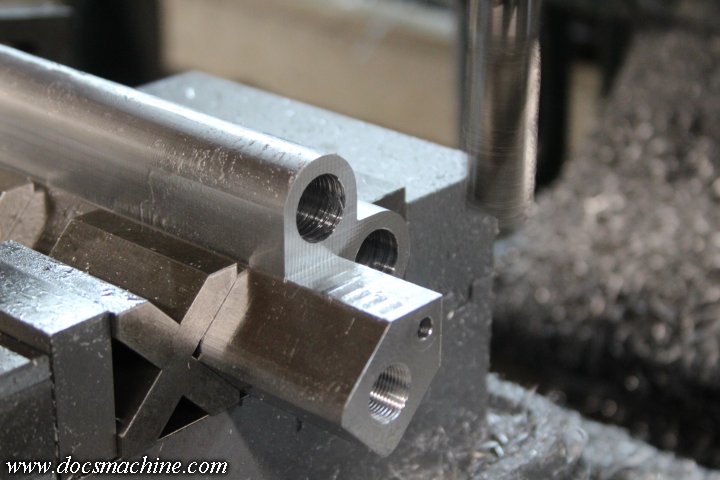
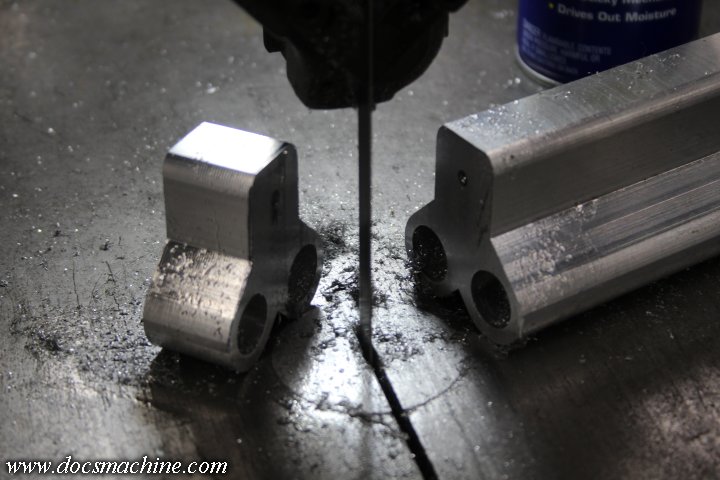
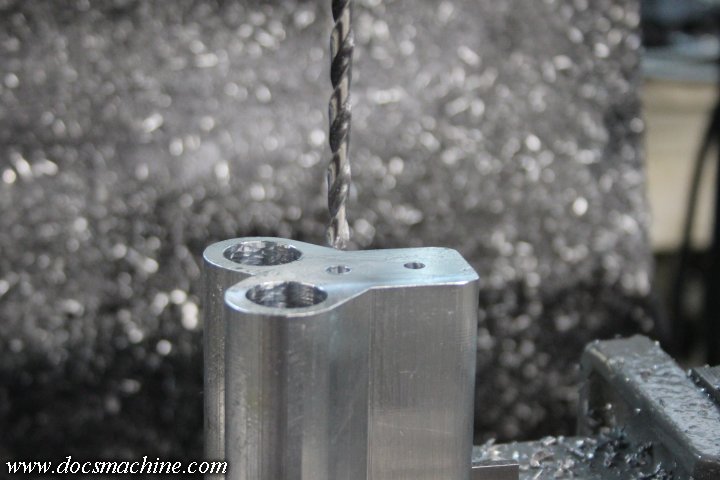
    Now, the next step is drilling and finishing the valve bores, so I spent a few minutes trying that out on the Evil Twin (as shown in its thread.) I was able to establish the measurements I needed, so hopefully the rest will go fairly smoothly.

    Keep standing by!

    Doc.

    Leave a comment:


  • DocsMachine
    replied
    And that's about it for the contouring!


    The one I left rough as one customer wants more "angular" milling.

    The next step is back on the ends, so it's time to clean off the table again, wipe everything down, and remount the vertical vise.


    And now, it's finally time to mill them all to finished length!


    Yeah, I think that'll do.


    With that done, I could finish-drill the front-block bores to depth, and get them all fully tapped.


    And there we are, one row of very surprised-looking 'Cocker bodies.


    Skipping back over to the plain vise, I roughed off the front of the bolt tubes, to length...


    And then slipped a corner-rounder in there as far as I could, to smooth off that point a tad.


    The last little bit I'll take care of with hand files.

    Finally starting to take shape!


    I'd hoped to get into the actual breech boring today, but I'm just knackered. There's a ton of work in those eight pictures.

    More tomorrow!

    Doc.

    Leave a comment:


  • DocsMachine
    replied
    Originally posted by Chuck E Ducky View Post
    Are the Starrett V-blocks something you made? Or is that something commonly used?
    -Mine are antiques, probably dating to the sixties, that in a roundabout way I "inherited" from a retiring machinist back around when I started this biz. Starrett lists them as discontinued, but there's a set on eBay for fifty bucks.

    Doc.

    Leave a comment:


  • Chuck E Ducky
    replied
    Are the Starrett V-blocks something you made? Or is that something commonly used? I have never seen those before and they look handy. I Love seeing all the updates and the skill put into marking these happen. Nice work Doc the process is just as interesting as the marker itself.

    Leave a comment:


  • Meleager7
    commented on 's reply
    You scoundrels, I can't unsee that now.....and Doc will never look at at his VeeTwin builds the same again!!!!

  • DocsMachine
    replied
    After I'd roughed the lot down, it was time for a bit of contouring. First, the easy bit at the bottom of the valve tube:


    After that, it's the tricky part. In previous runs, I'd actually tilt the head of the mill forward to 45 degrees, so I could keep holding the body by the valve tube, and the corner-rounding cutter would be properly aligned with the bolt tubes. The problem here is that it's tricky to align things, as the table movement is no longer "square" to the cutter- and a corner rounding bit has to be aligned carefully to two different faces.

    Instead, I simply got out a couple of known-accurate Starrett V-blocks, which were just the right size to hold the body at 45 degrees.


    That made aligning the cutter considerably easier- and more importantly, more repeatable- so after that it was simply a matter of carefully lining things up, and buzzing down the flat bits.


    Voilá! (Which I'm pretty sure is French for "Check this s**t out!"


    Moreover, that's a considerably smoother surface than my old (cheap import) cutter could produce, so it'll be easier to finish and polish the surfaces.


    Ran out of time to do them all today, but I'll finish up the rest in the morning.

    Doc.

    Leave a comment:


  • maggot
    commented on 's reply
    Oh man, I literally just posted the same thing on the post above! Too funny.

  • maggot
    commented on 's reply
    Looks like a pair of hard nips.

  • FredMnkyDad10
    replied
    Originally posted by Meleager7 View Post
    I think the very last pic makes the Vee-Twin look "Surprised" !
    Is just my twisted mind but could you ano them to look like nipples. It would make for a really nice pair.

    Of course that might backfire and you keep being distracted during game play.

    Leave a comment:


  • Meleager7
    replied
    I think the very last pic makes the Vee-Twin look "Surprised" !

    Leave a comment:


  • Nuppydog
    replied
    Loving the hard angles. Thanks for keeping us updated!

    Leave a comment:


  • Alexndl
    commented on 's reply
    I agree, it look more like an V8 engine block

  • FredMnkyDad10
    replied
    Very sweet and awesome pictures you share. I am really liking how it looks with the straight edges.

    Leave a comment:


  • DocsMachine
    replied
    Haven't forgotten about you, just been slammed with work. That said, some progress!

    Had to take a moment to rework my bandsaw, converting it over to a slightly more powerful 3-phase motor and improved controls, and cut the block-end off the three contoured bodies.


    Set up the mill and faced each now-loose block down to 1.000"...


    And then drilled each one out to 1/4" for the cocking rod.


    I then located the center and drilled and tapped each one for the pump rod.


    Setting the vertical vise back up, I then faced off the three freshly-cut ends...


    And finished drilling the bodies the rest of the way through for the pump rods.


    Now, before I set up to do the upper contouring on the four new bodies, I needed to rough some more of the spare meat off. For that, I dug out my old kit for holding the backblocks in place....


    And had to whip up a couple slightly longer threaded rods, and some new front plugs. The old ones were meant to fit in already bored barrel breeches.


    The tight-fitting rear plugs hold the back block in prefect alignment for the rest of the milling, so I roughed more off the top...


    Used the same 90-degree mill to shave down the corner....


    And then brought in the sides.


    That was as far as I dared rough without taking measurements, but this step was just raw reduction. The next step is of course to double-check my measurements, maybe shave down a touch more, and the break out the corner-rounders for the full, proper profile.


    Stand by, more coming- and soon!

    Doc.

    Leave a comment:


  • XEMON
    replied
    Originally posted by DocsMachine View Post

    -I've been toying with that idea, too. Wouldn't take much to make a dual-ram front block, and you could take a three-way and just drill an extra pair of exhaust ports with hose nipples, so theoretically you'd have the same pressure and timing on each one.

    The big trick would be installing them. You'd have to have them attach to the back block with setscrews, or laboriously screw the ram shafts in at the front and then screw the rams to the block. Not impossible, but tricky. And if you got the spacing off, you'd still get binding as one side 'pushed' more than the other.

    But that, too, is something that might be fun to try at some point.

    Doc.
    What about splitting the back block (making the 2 bolt "independent")?
    This way if they are not quite bolted at the same spot, you get enough slack to avoid binding.
    This way, you might even be able to slow the closing on teh top barrel to help with feeding ...

    Leave a comment:

Working...
X