A month of brass!
This one'll be a bit scattershot, it's a project I've been working on basically just as time permits, for a little over a month now. I didn't always get pics, so bear with me.
Back in March, an MCB'er asked if anyone had made a brass 'Freak' barrel back. To the best of my knowledge no one had, but I had already been thinking about trying it. There's no reason to, other than just to have brass on your marker.
I looked around, four some ideally suitable material, and, because I have all the business acumen of a potato, I bought some.
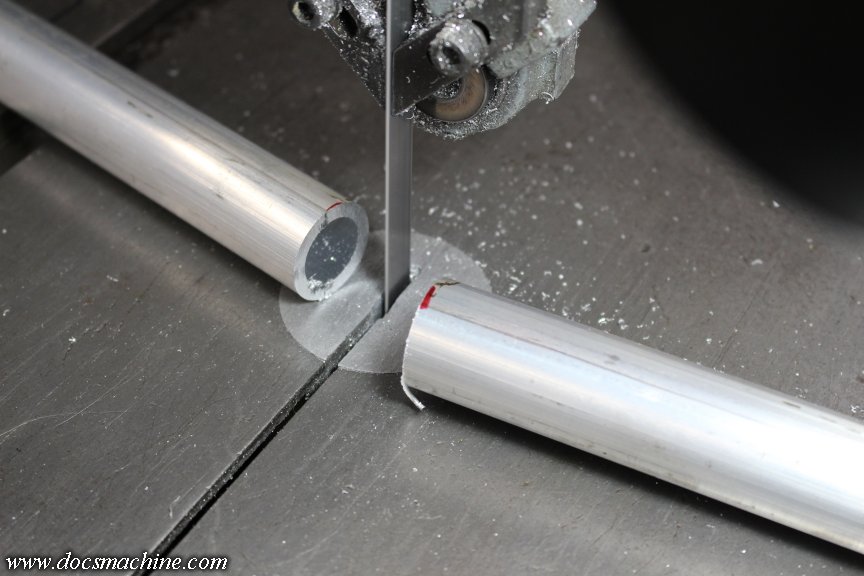
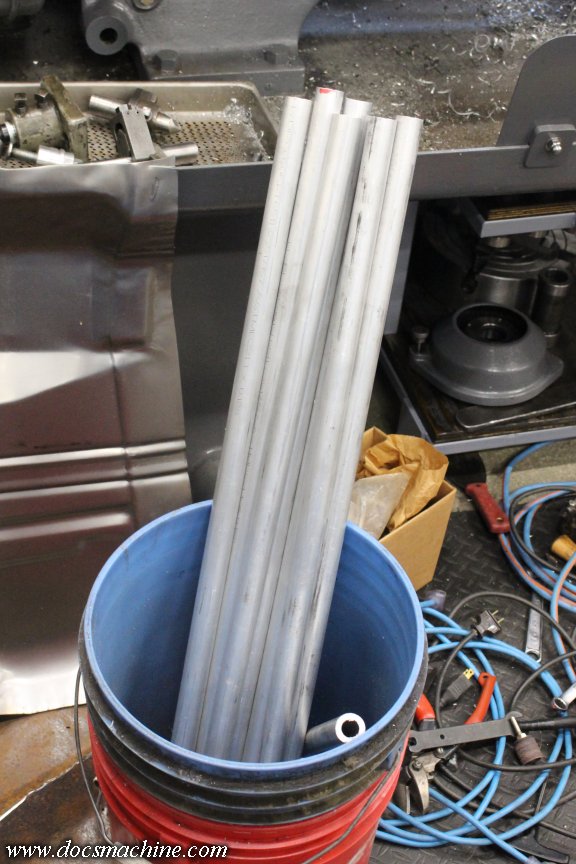
Brass, in case you haven't looked recently, is really friggin' expensive. This...
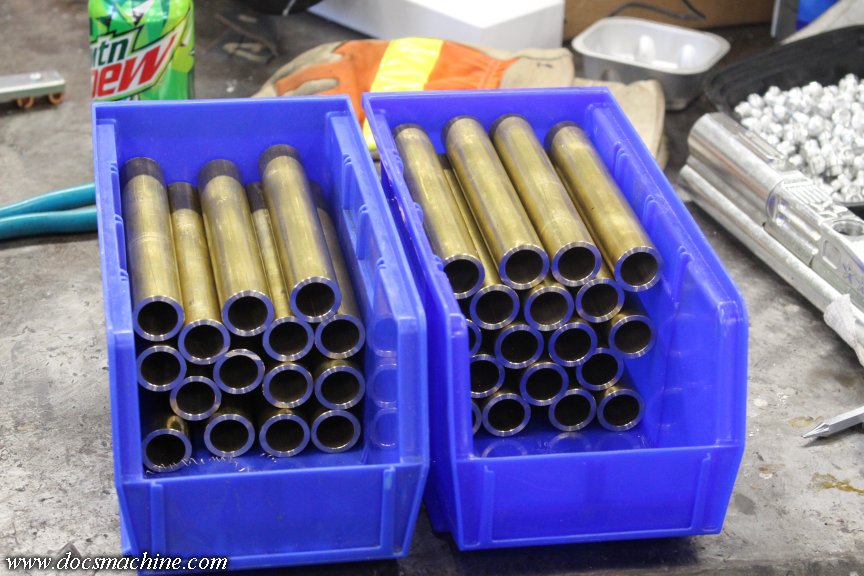
... is six hundred dollars worth.
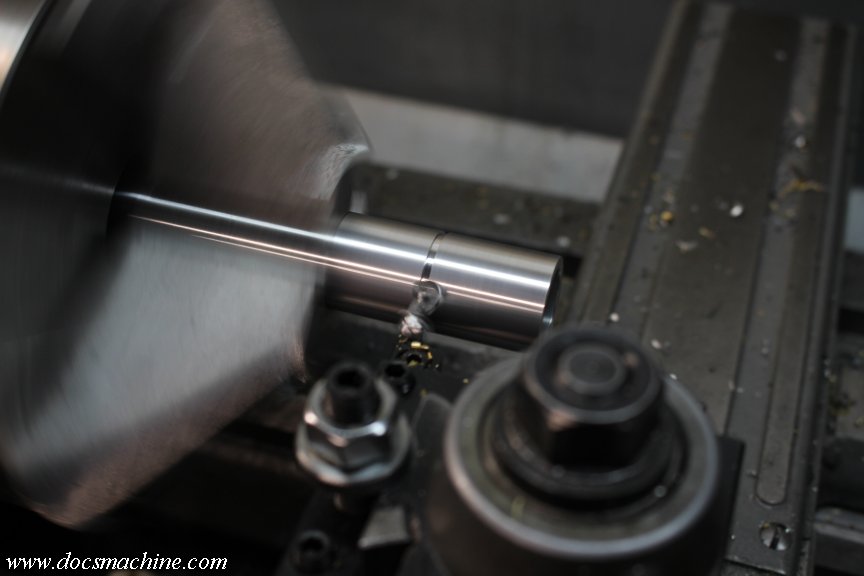
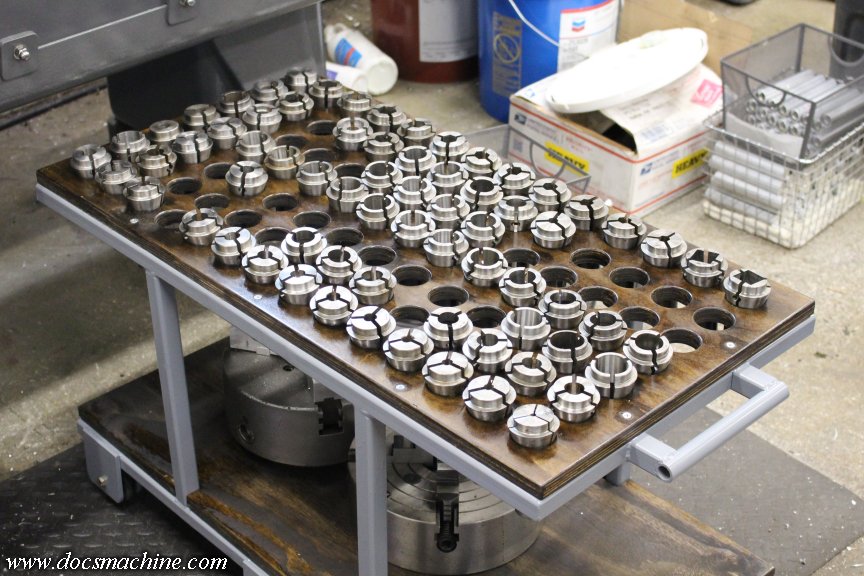
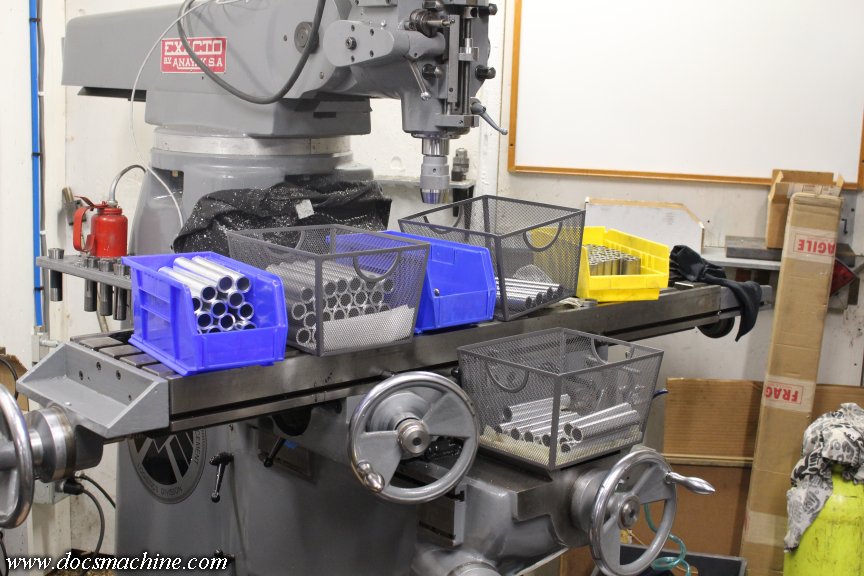
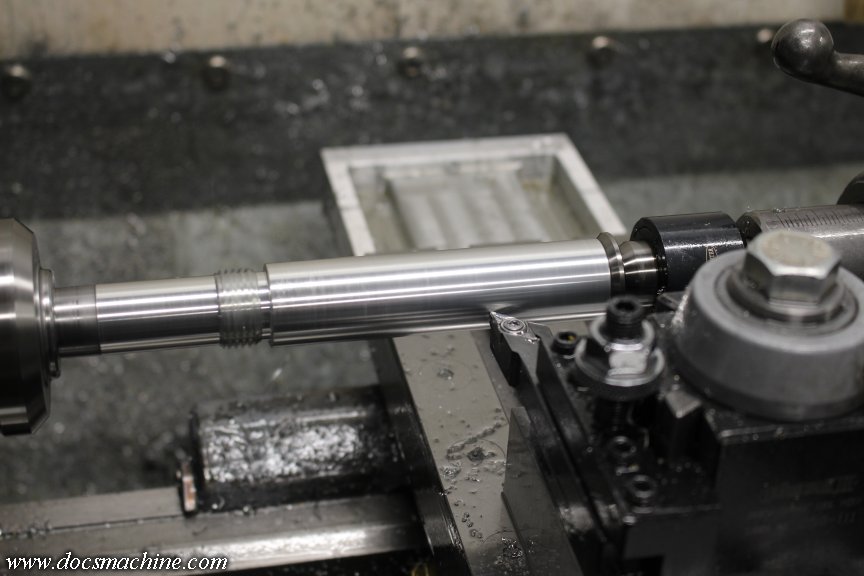
Anyway, after taking a few preorders just to make sure I wasn't flushing all that money down the loo, and after setting up a fresh array of tooling in the Omni (another forthcoming tale) I wrote a fresh program and started cutting some chips.
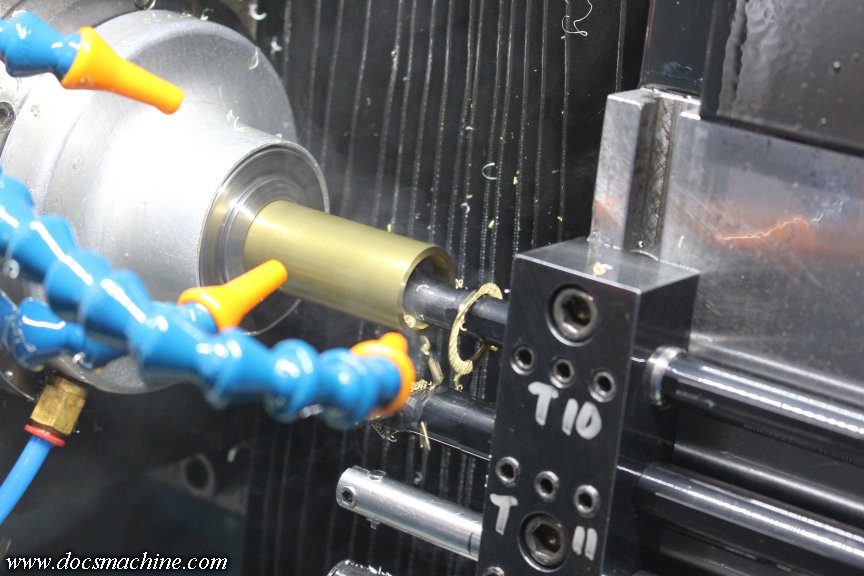
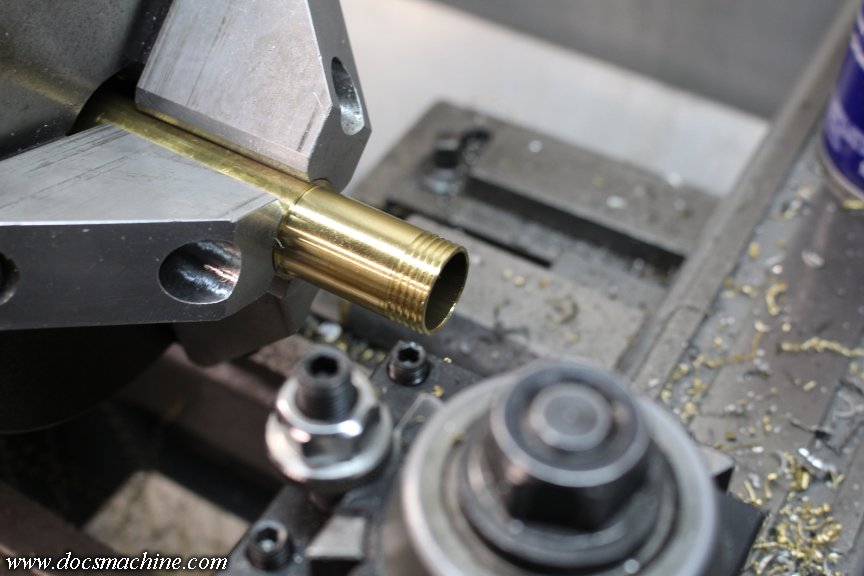
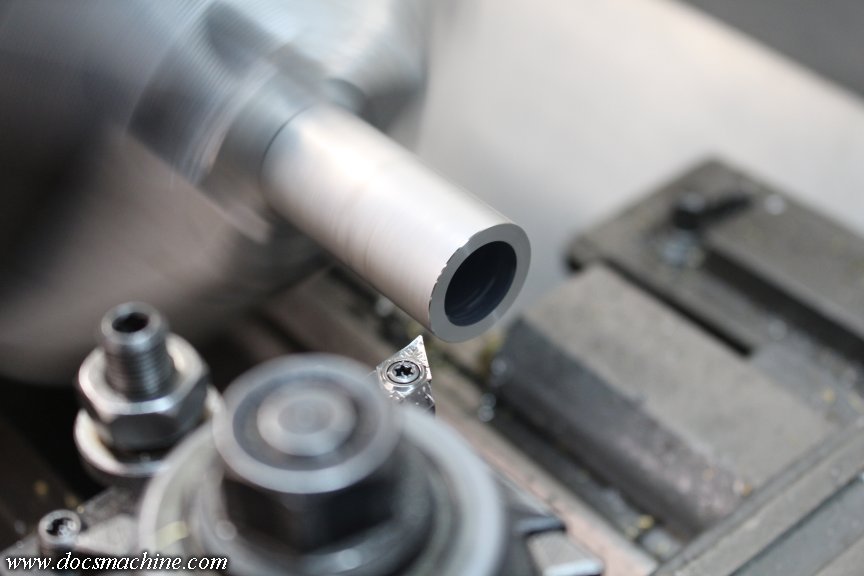
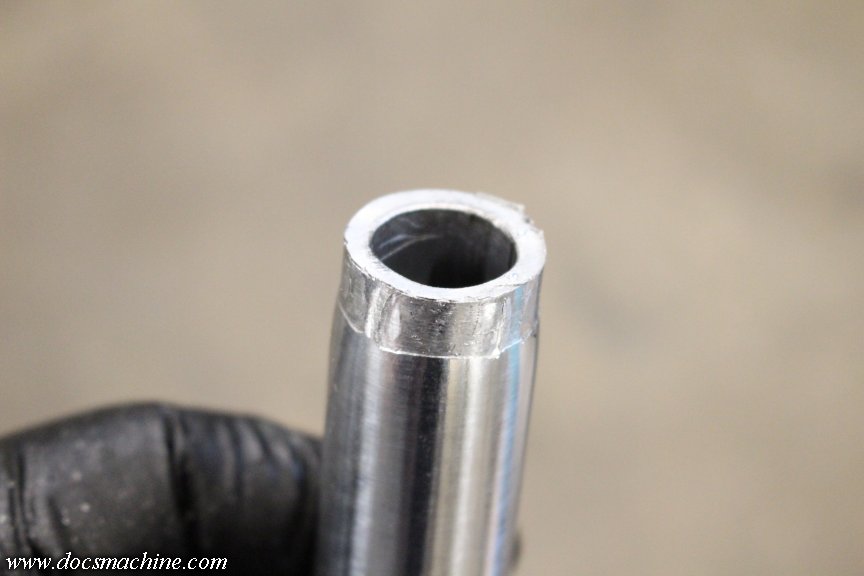
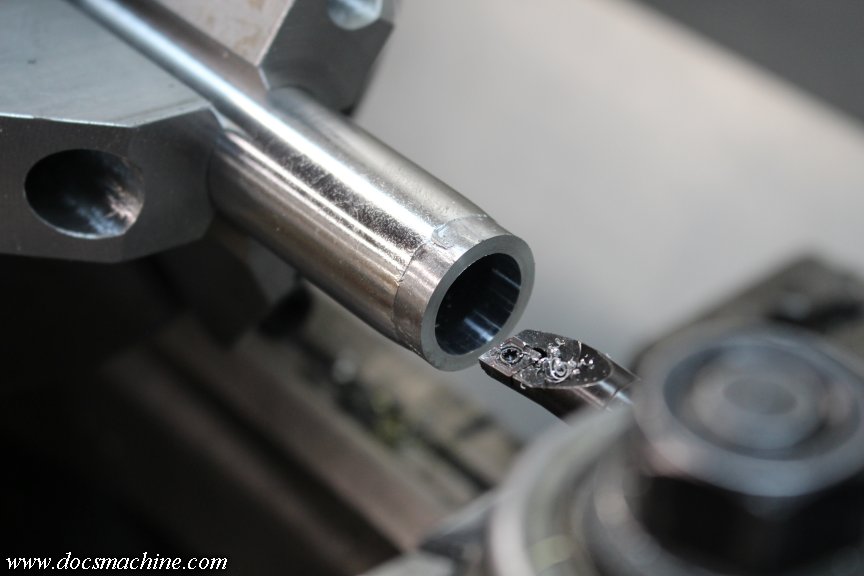
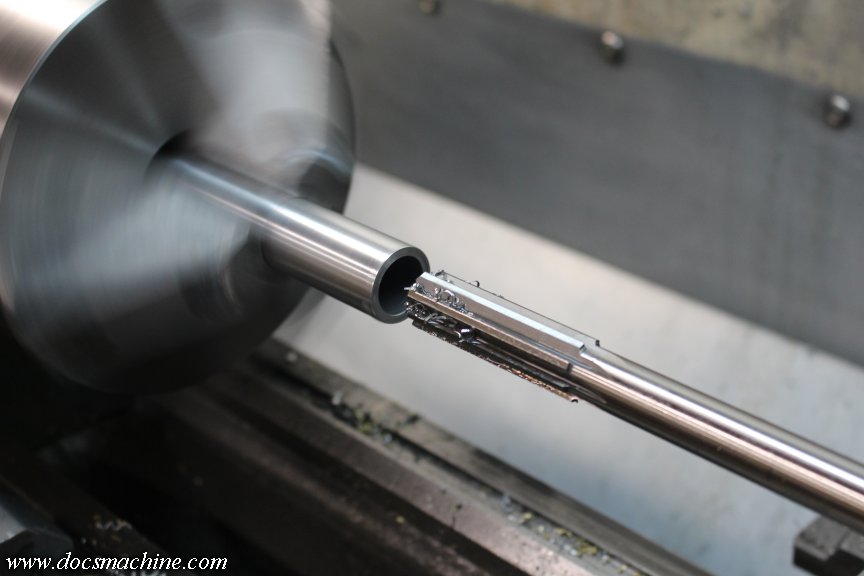
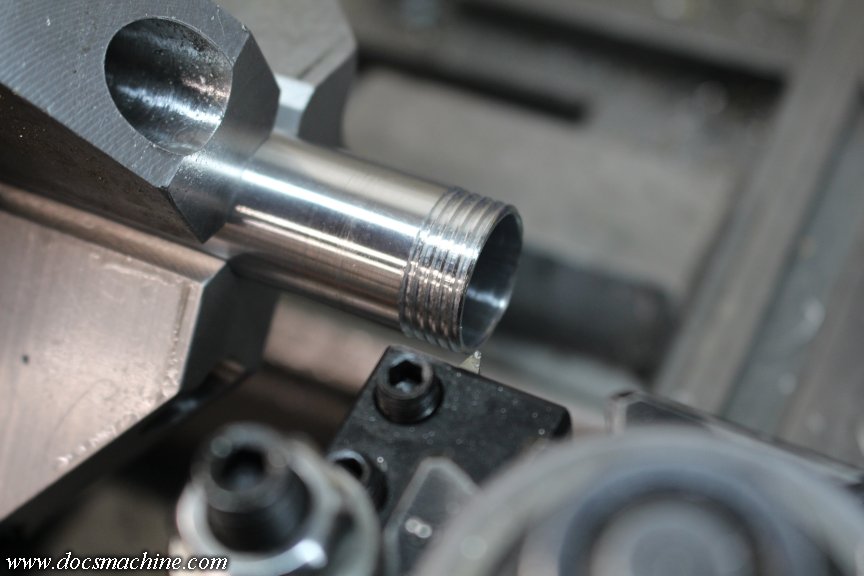
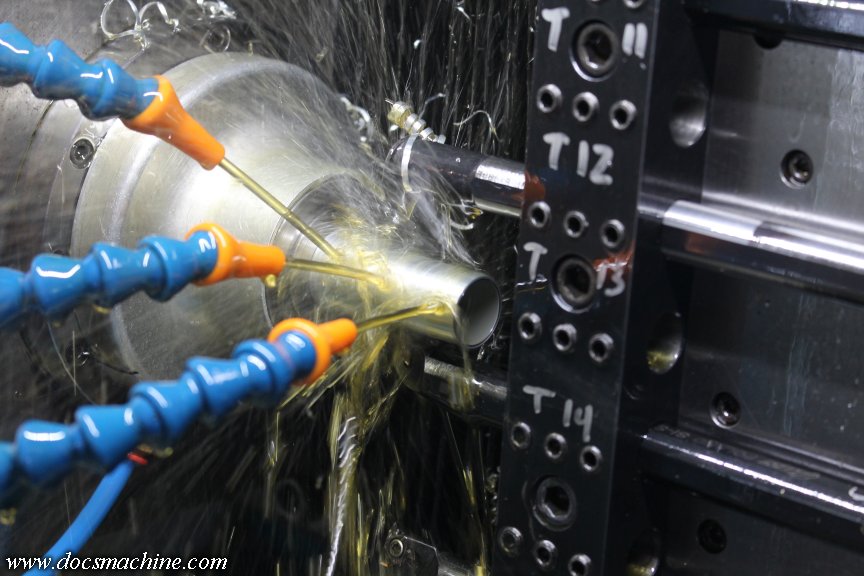
Typical 'Freak' threading- an internal 16 pitch, 32 TPI double-lead thread. I used to cut these by hand.
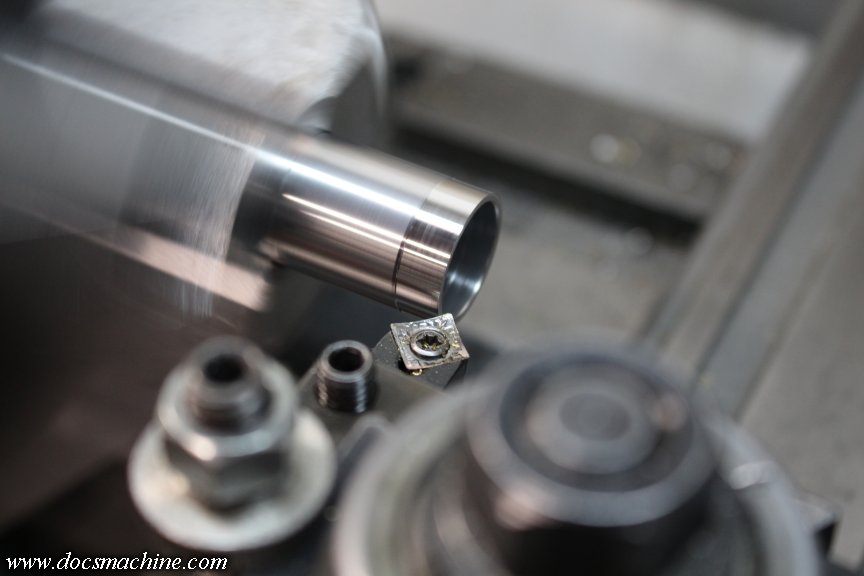
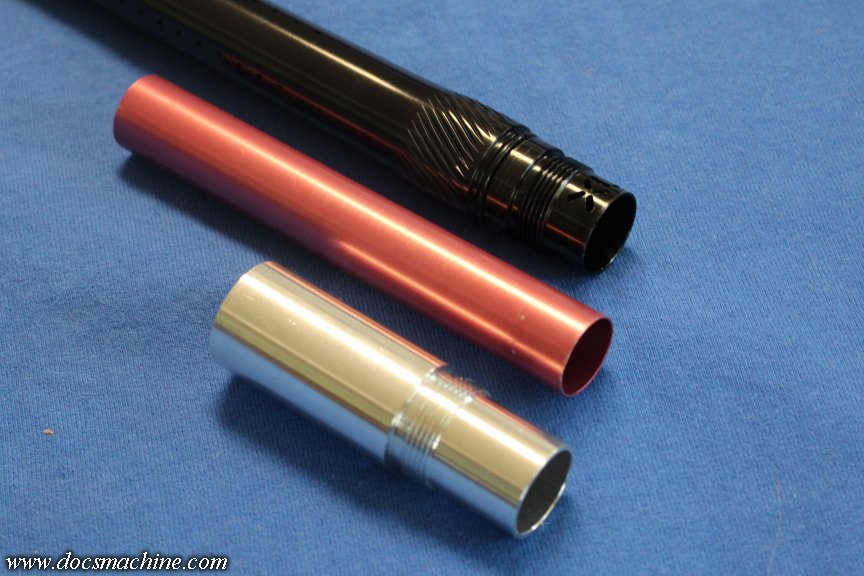
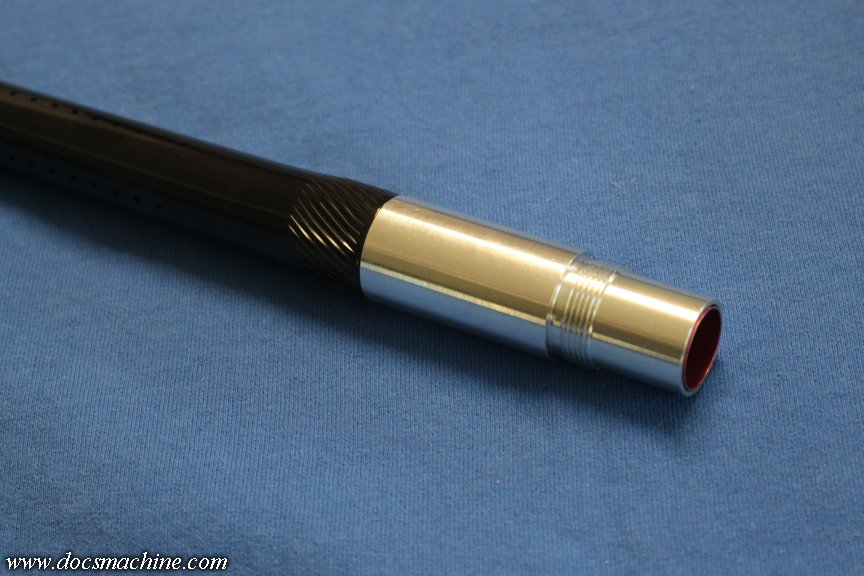
A quick test-fit...
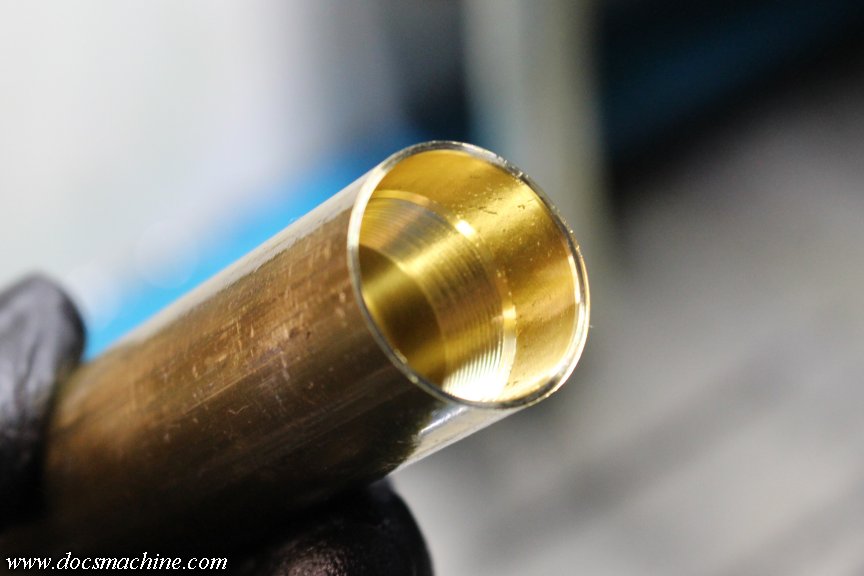
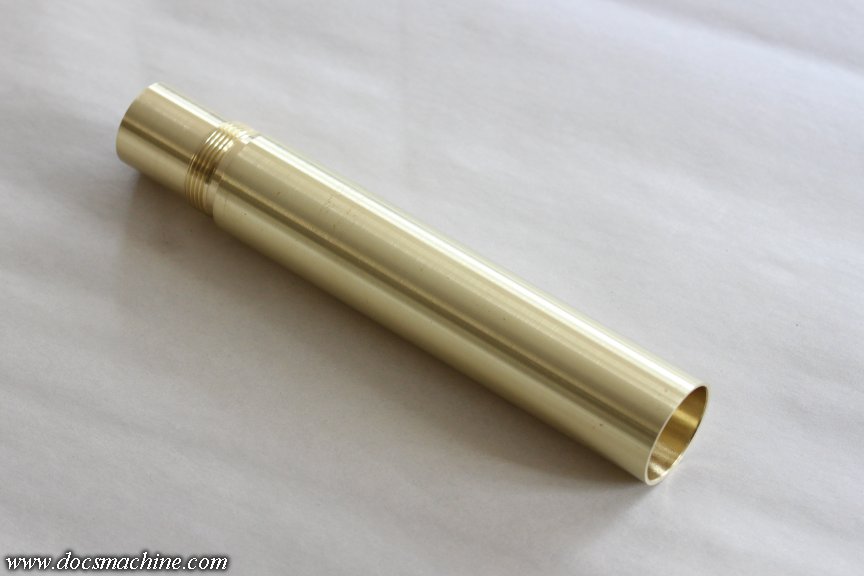
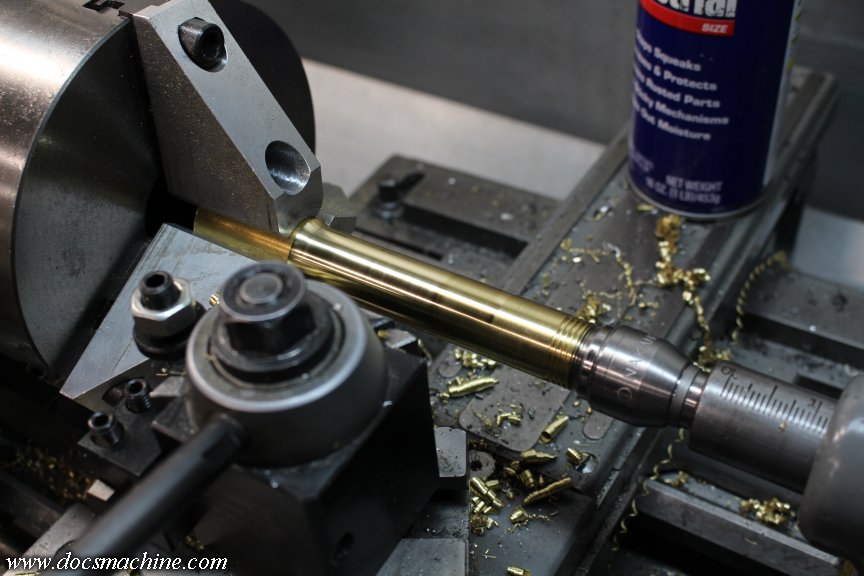
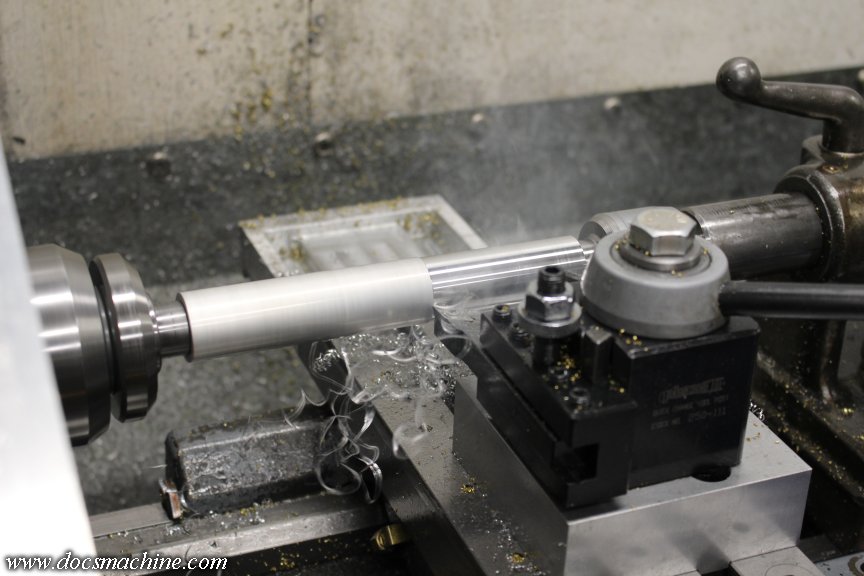
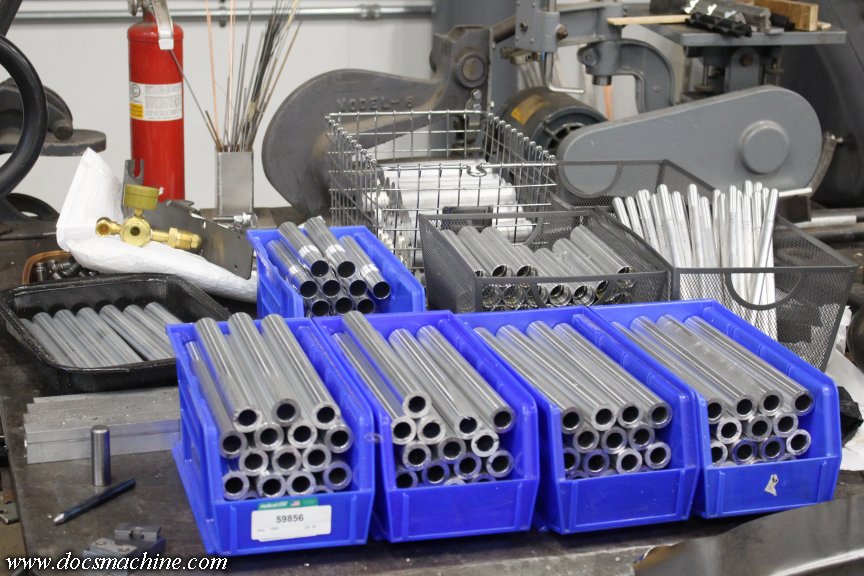
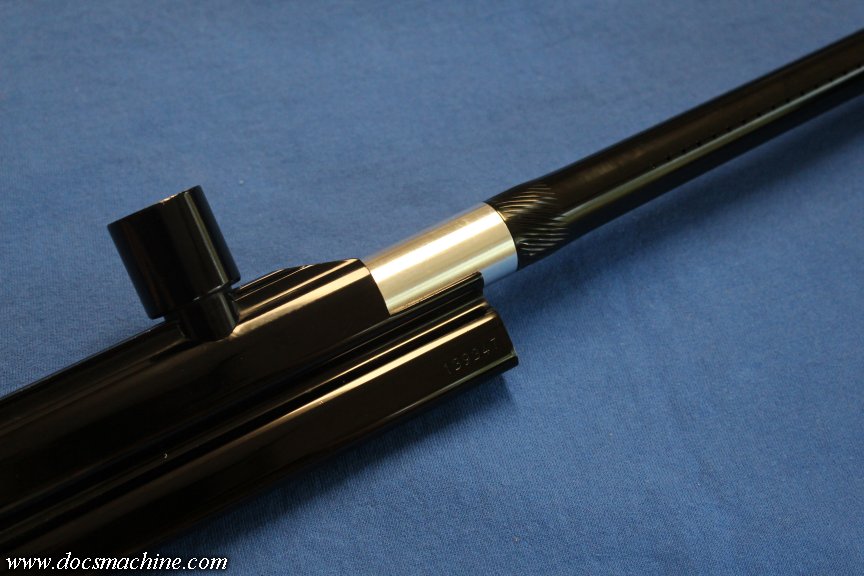
And then a fresh program to cut the breech threads. A quick scuff with some 800 grit, and we had some ready to go, for those of you that wanted a classic straight-sided back.
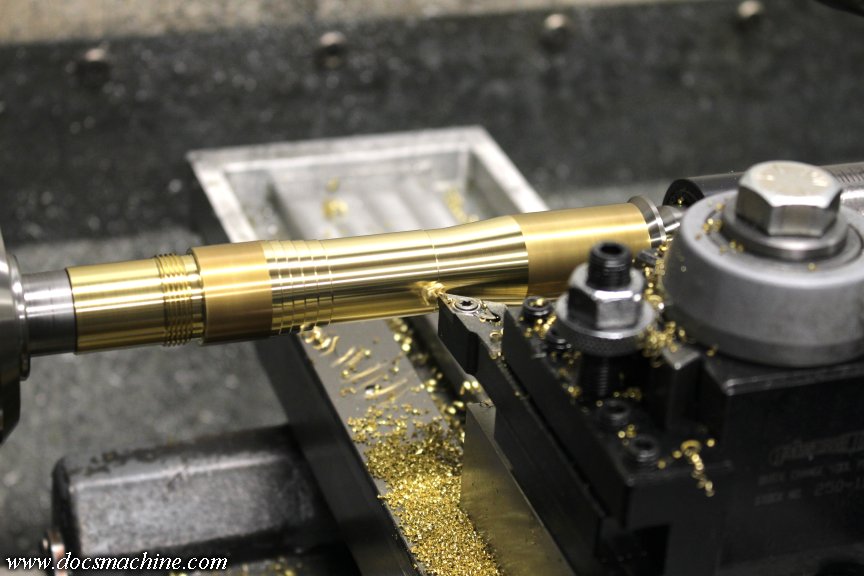
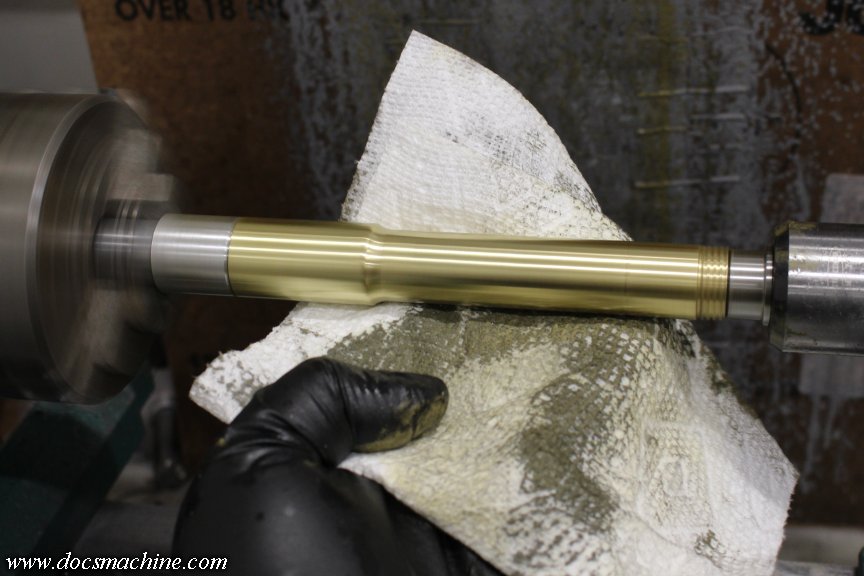
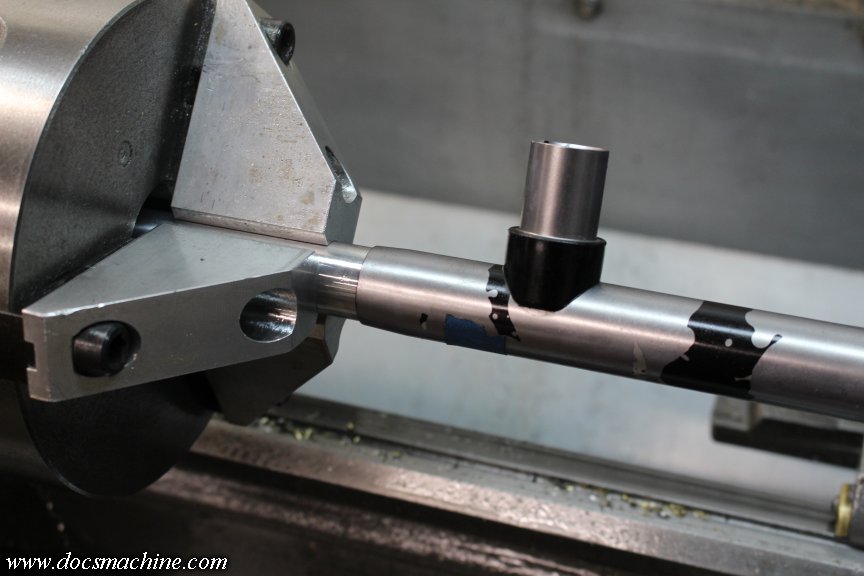
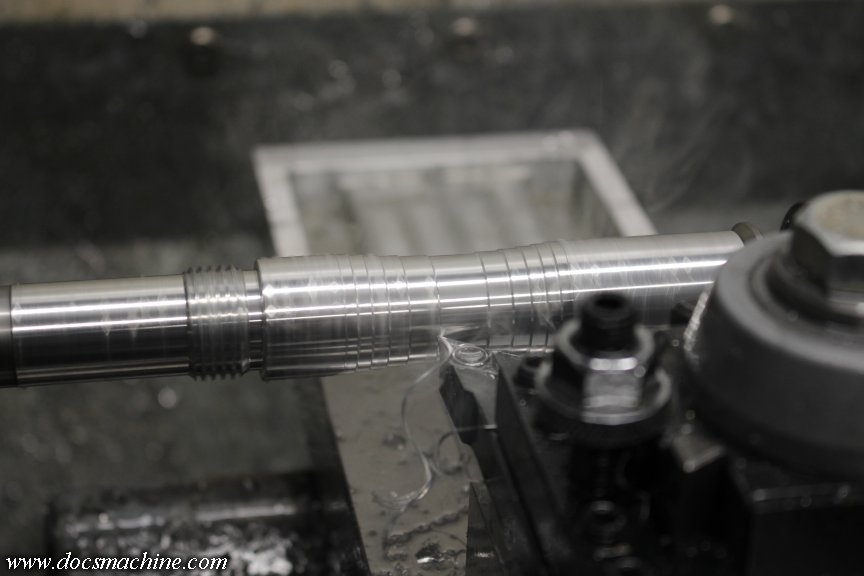
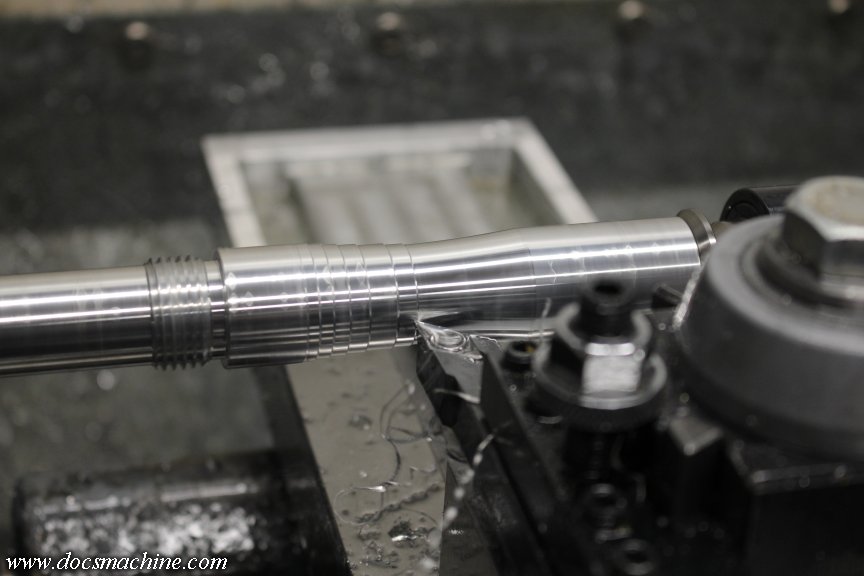
I offered the option of profiling the back, both for looks and a touch of weight reduction, so we moved over to the CNC Logan, and cut even more chips.
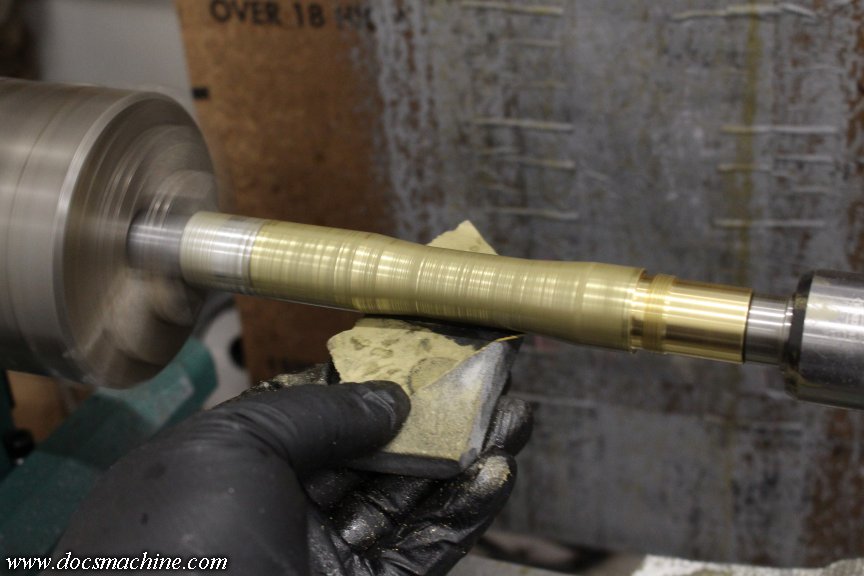
These too got scuffed, using a cheap wood lathe as a "spinner", to make sanding batches of parts easier and quicker. A little WD-40, some 800 grit wet-or-dry paper, and a chunk of stiff foam sanding pad.
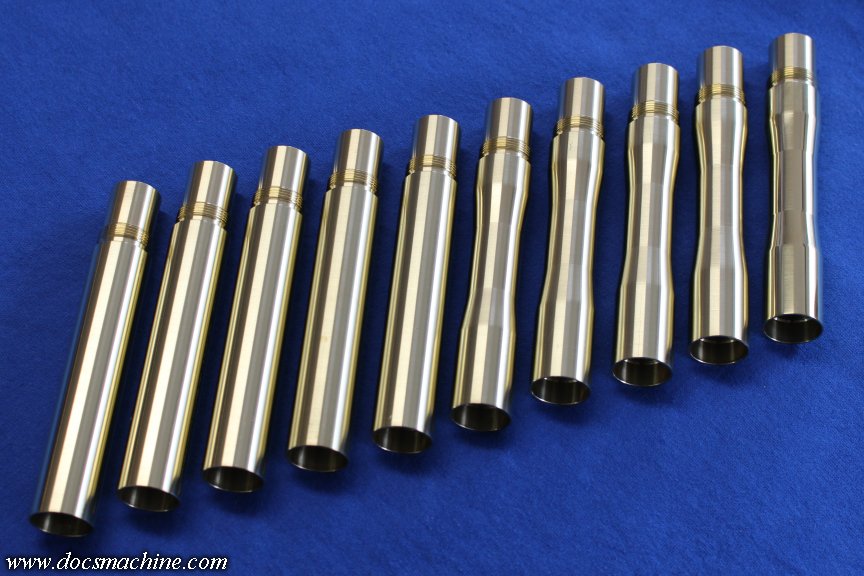
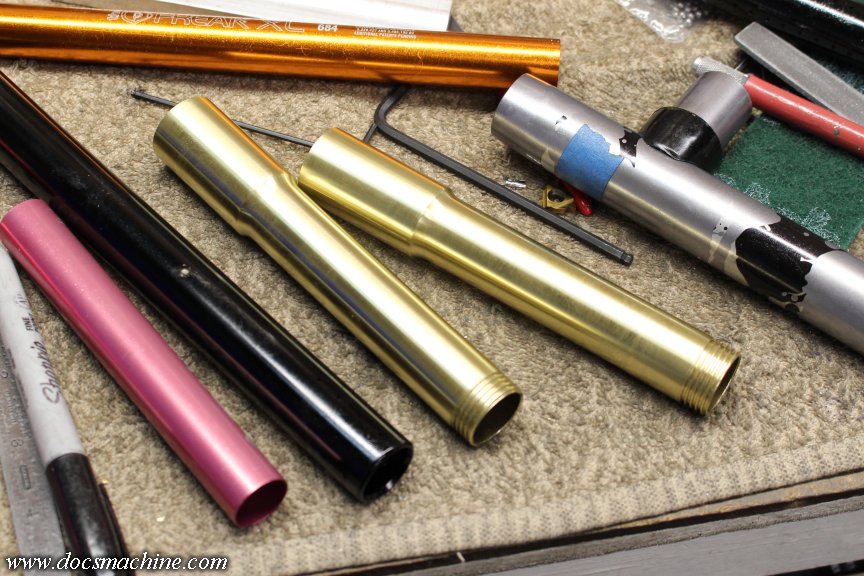
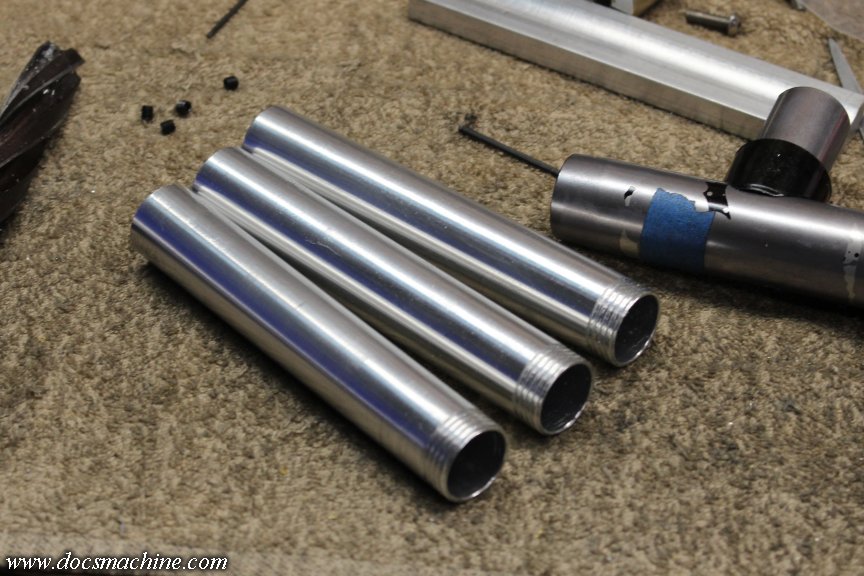
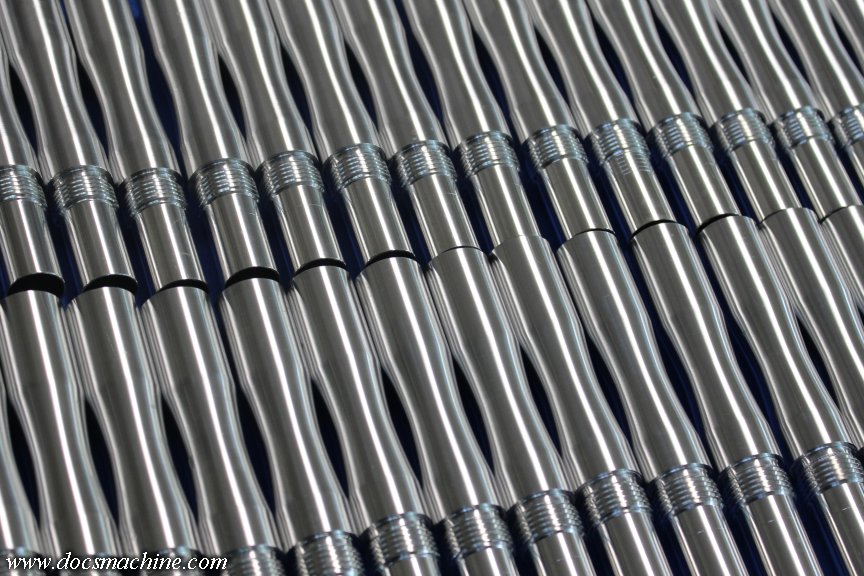
Wiped down and washed in hot soap & water, and ready to go! (The right-hand-most is polished.)
Now, because I'm a custom shop, I was asked for threading to fit Phantoms. Kind of an odd request, I thought, but hey, I've made my living off of odd requests.
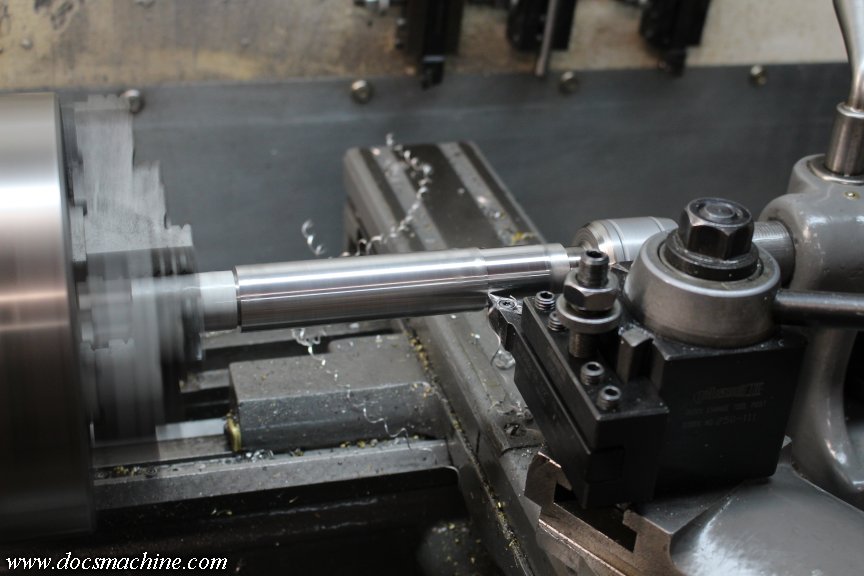
So, cut down slightly and threaded- 14 TPI "stub" ACME, by the way...
Then the rest of the body profiled down...
Sanded, as usual...

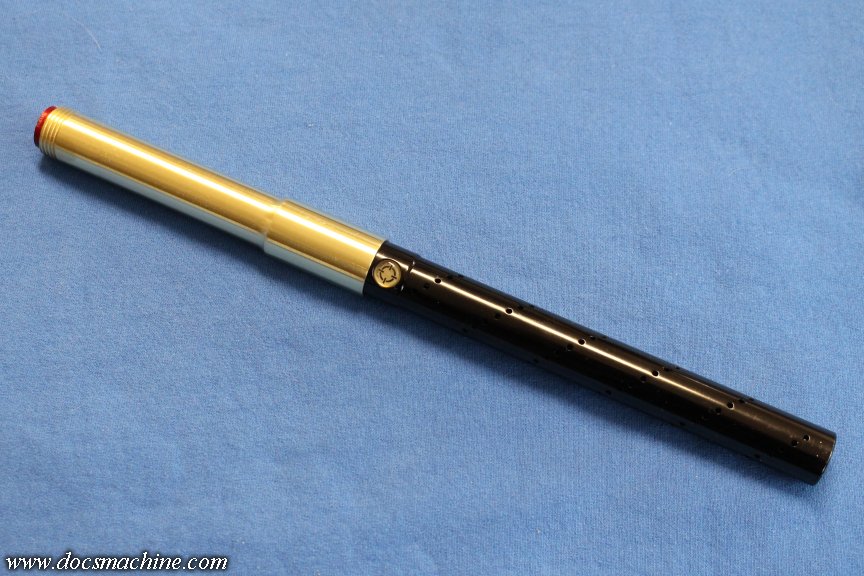
And done!
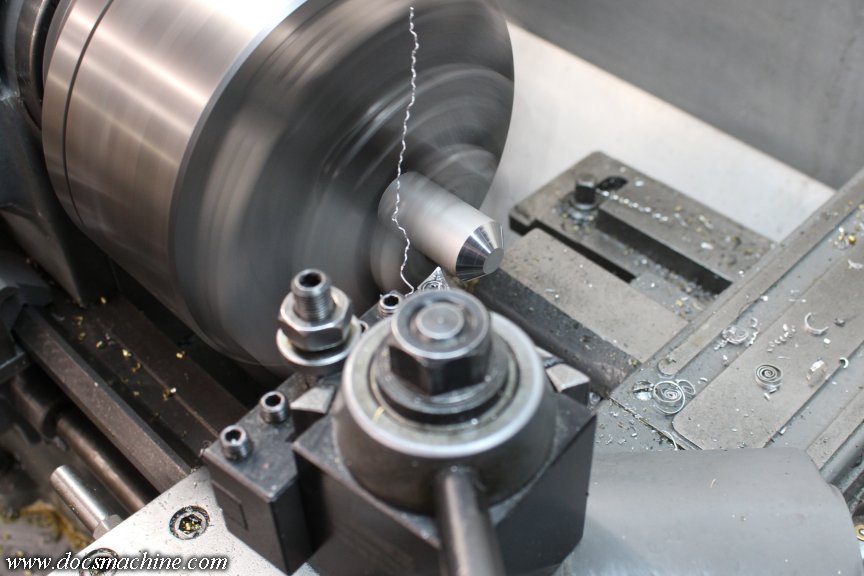
(Not shown is an hour spent grinding an ACME point in a chunk of HSS so I can cut the dang threads in the first place. )
And, both of those ready to ship out in the morning!
Kind of a fun little side project, brass is always fun to machine. I've had some other brass projects on the list for some time, maybe I ought to move those up...
Doc.
This one'll be a bit scattershot, it's a project I've been working on basically just as time permits, for a little over a month now. I didn't always get pics, so bear with me.
Back in March, an MCB'er asked if anyone had made a brass 'Freak' barrel back. To the best of my knowledge no one had, but I had already been thinking about trying it. There's no reason to, other than just to have brass on your marker.
I looked around, four some ideally suitable material, and, because I have all the business acumen of a potato, I bought some.
Brass, in case you haven't looked recently, is really friggin' expensive. This...
... is six hundred dollars worth.
Anyway, after taking a few preorders just to make sure I wasn't flushing all that money down the loo, and after setting up a fresh array of tooling in the Omni (another forthcoming tale) I wrote a fresh program and started cutting some chips.
Typical 'Freak' threading- an internal 16 pitch, 32 TPI double-lead thread. I used to cut these by hand.
A quick test-fit...
And then a fresh program to cut the breech threads. A quick scuff with some 800 grit, and we had some ready to go, for those of you that wanted a classic straight-sided back.
I offered the option of profiling the back, both for looks and a touch of weight reduction, so we moved over to the CNC Logan, and cut even more chips.
These too got scuffed, using a cheap wood lathe as a "spinner", to make sanding batches of parts easier and quicker. A little WD-40, some 800 grit wet-or-dry paper, and a chunk of stiff foam sanding pad.
Wiped down and washed in hot soap & water, and ready to go! (The right-hand-most is polished.)
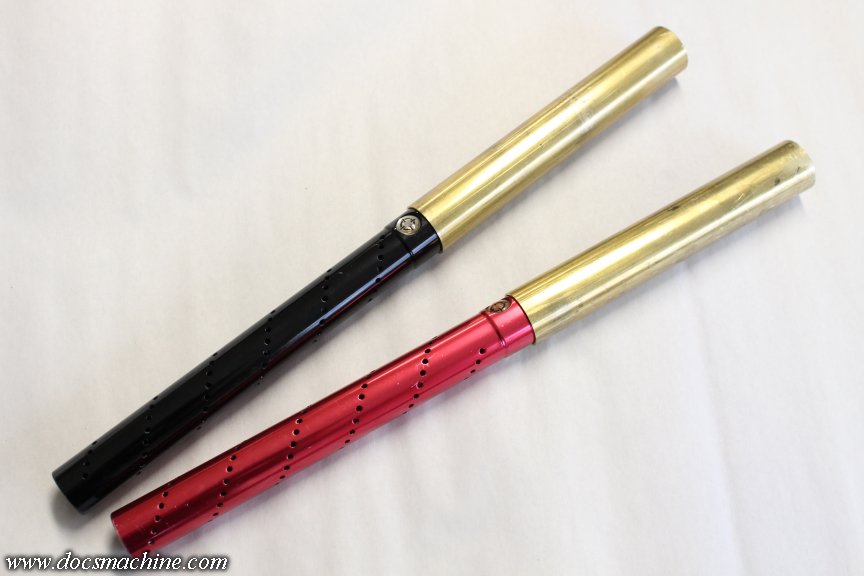
Now, because I'm a custom shop, I was asked for threading to fit Phantoms. Kind of an odd request, I thought, but hey, I've made my living off of odd requests.
So, cut down slightly and threaded- 14 TPI "stub" ACME, by the way...
Then the rest of the body profiled down...
Sanded, as usual...
And done!
(Not shown is an hour spent grinding an ACME point in a chunk of HSS so I can cut the dang threads in the first place.
)And, both of those ready to ship out in the morning!
Kind of a fun little side project, brass is always fun to machine. I've had some other brass projects on the list for some time, maybe I ought to move those up...
Doc.


Comment