-
-
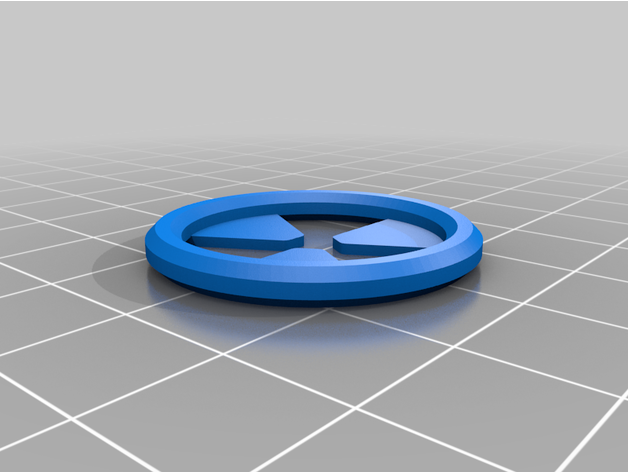
My first 3d design for paintball, the first 2 ball hopper with speedfeed for a Trracer
when you dont want a single shot but dont want a hopper too!
shown here with ReconSWS Backslide (he have a new nickname now but I dont remember it)
Complete kit with cut barrel and CCI bucket chargerLast edited by Alexndl; 02-26-2022, 04:18 PM.Comment
-
Made a sled for a midblock Orracle body I had for sale
thread is cut with a tap, not printed (need to learn how to model those on Freecad).
printed in PLA+, 0.18mm, 6 wall layer (so no infill)
The one on thingiverse (by BMC) did not fit a body that was not milled through. Also the thickness was not big enough for a smooth operation
Need to create a profile and will be sharing this model. Let me know if you want it sooner.
Will make another model for my Aim Prototype
Comment
-
Something Rainmaker might have a use for, some plain, fat, phantom grip panels; https://www.thingiverse.com/thing:5254099
Comment
-
Take 2 of a 10 round feed elbow. Need to work on the diameters and print quality, looks good but didn’t fit.
Comment
-
Started prototyping a stacked tube nelson design (one piece body/feed), plenty more to come. CCI components currently shown on the valve but plan to change those.
Attached FilesComment
-
-
Resin printing is kind of a pain in the butt compared to FDM.
Comment
-
When you have an extra body, valve and sear you might as well print a new grip, rail, grip panels and design a mag adapter
Comment
-
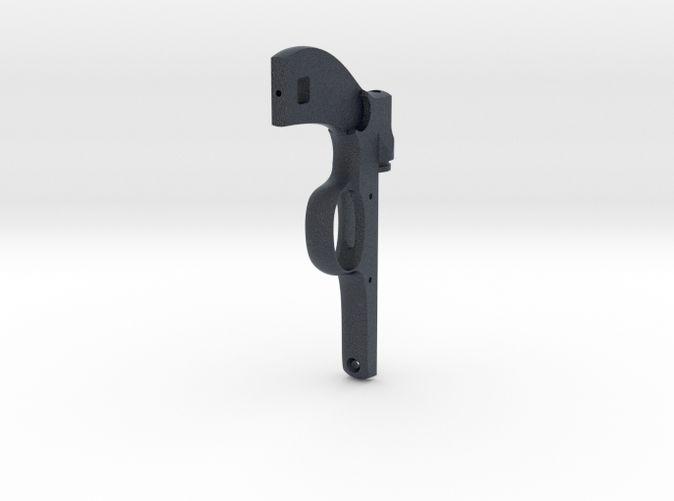
Trying to come up with a cheap PGP K-frame... so far so good. Working on an idea for a plastic/metal hybrid sear and trigger.

 Rainmaker's feedback: https://www.mcarterbrown.com/forum/b...maker-feedback
Comment
-
Printed a sear and trigger... actually functions! though the plastic sear probably wouldn't last long...
-
Trying out this shapeways thing...
-
I can't remember what gun it is, but something has a plastic sear with a flat piece of metal bent over the end just covering the tip where it interacts with the hammer. I think it has a little tab at each end melted into the plastic sear to hold it. Tigershark? Vulcan? Eagle 68?
-
-
Bee doing some accessories for my "new" 1936 lathe.
Attached FilesLove my brass ... Love my SSR ... Hard choices ...
XEMON's phantom double sided feed
Keep your ATS going: Project rATS 2.0
My FeedbackComment
-
Its this one: https://www.thingiverse.com/thing:2824622
Credit where its due, it seam to work extremely well for my S9 ... just had to shave my 10-32 insert for teh retaining screw ...
-
-
I've wanted a custom faceshield for my virtue Vio ever since I got it and noticed it can be replaced. I have some tpu sitting around to print it in the end, but for now it's prototyping in pla.
Not bad for my first attempt. Made a few adjustments and V2 is now printing. While it's doing that, I can draw up some vent patterns.
Attached FilesHire MeComment
-
-
Super late to the game. purchased a mk3s+ for xmas. came in 2-3 weeks in January. First decent print on it. Still tweaking my z height, but It works and looks like it is supposed to.

 BeardedWorks.com (Your Inception Designs and Shocktech Dealer)
BW Youtube
BW Ebay
BW Email
I buy Automags and Mag Parts also.Comment
-
My magnetic sweeper decided to breakup with the handle ... So I had to intervene
Love my brass ... Love my SSR ... Hard choices ...
XEMON's phantom double sided feed
Keep your ATS going: Project rATS 2.0
My FeedbackComment
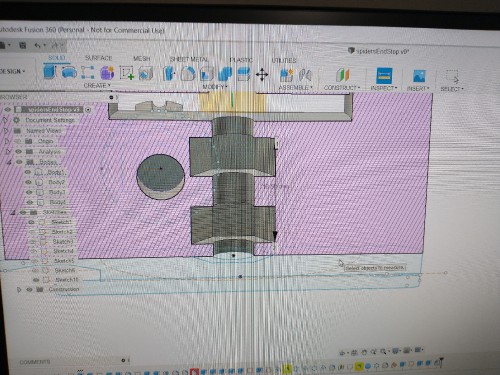
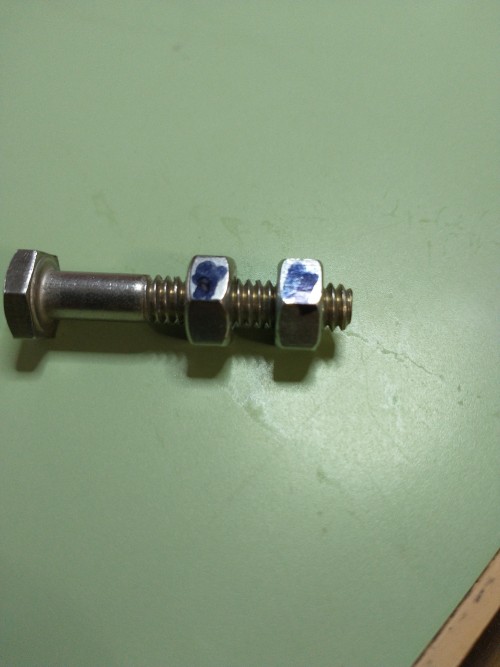
-
Place nuts in slots!
I've been making an end stop for my mini lathe. I'm using embedded nuts for threads, setting the print to pause for the inserts. On the second iteration I forgot to mark the nuts to make sure they line up, and of course they didn't line up.🙄 Other than that, it has been working nicely. I've also used the different infill for parts on the same bed, since the knob could be pretty light.

Comment
- Welcome to MCB! If this is your first visit, be sure to check out the FAQ by clicking the link above. You may have to register before you can post: click the register link above to proceed. To start viewing messages, select the forum that you want to visit from the selection below.
instagram takipci satin al - instagram takipci satin al mobil odeme - takipci satin al
bahis siteleri - deneme bonusu - casino siteleri
bahis siteleri - kacak bahis - canli bahis
goldenbahis - makrobet - cepbahis
cratosslot - cratosslot giris - cratosslot


Comment